

Every week, teams wait for that one sales report that tells them whether the last seven days were a win or a warning. Now this creates pressure for the employee unable to handle or interpret the metrics and statistics.
This scenario can now be eliminated with the automation of reports. You can set up a workflow that gathers the sales data, builds summaries, and pushes them straight into Slack automatically. This guide will walk you through practical methods to automate weekly sales reports, from simple Google Sheets features to advanced scripting and no-code automation with Boltic.
Importance Of Weekly Sales Report
A sales report is a document offering a summary of a company’s sales activity over a specific time period. It provides insights into outcome, process, and performance metrics. The metrics provided in the sales report include revenue, sold units, closed deals, sales cycle length, sales by region, representative or product, sales comparison with previous periods or targets, and more.
Weekly automation of sales reports helps in early problem detection, adjusting the strategy to refine sales tactics, build more accurate revenue forecasts, improve communication among teams, and offer better support.
Reasons to Automate Weekly Sales Reporting
Automation of sales reports helps companies in numerous aspects. Here are those:
- Eliminates manual workload: Cuts down hours spent collecting, cleaning, and formatting data.
- Ensures high accuracy: Removes human errors in data entry and calculations, giving reliable numbers every time.
- Gives real-time performance visibility: Offers instant insights in visually understandable format instead of delayed reports.
- Enables faster and smarter decisions: Lets managers act proactively with up-to-date data instead of relying on outdated information.
- Boosts team productivity: Frees sales representatives from repetitive reporting tasks so they can focus on selling.
- Supports business scalability: Handles growing lead volumes and complex sales cycles without needing more manpower.
- Improves sales forecasting: Uses predictive analytics to deliver more accurate revenue predictions.
- Reduces costs: Cuts labor expenses and optimizes resource use to deliver high returns.
Methods To Automate Weekly Sales Reports With Slack Notifications
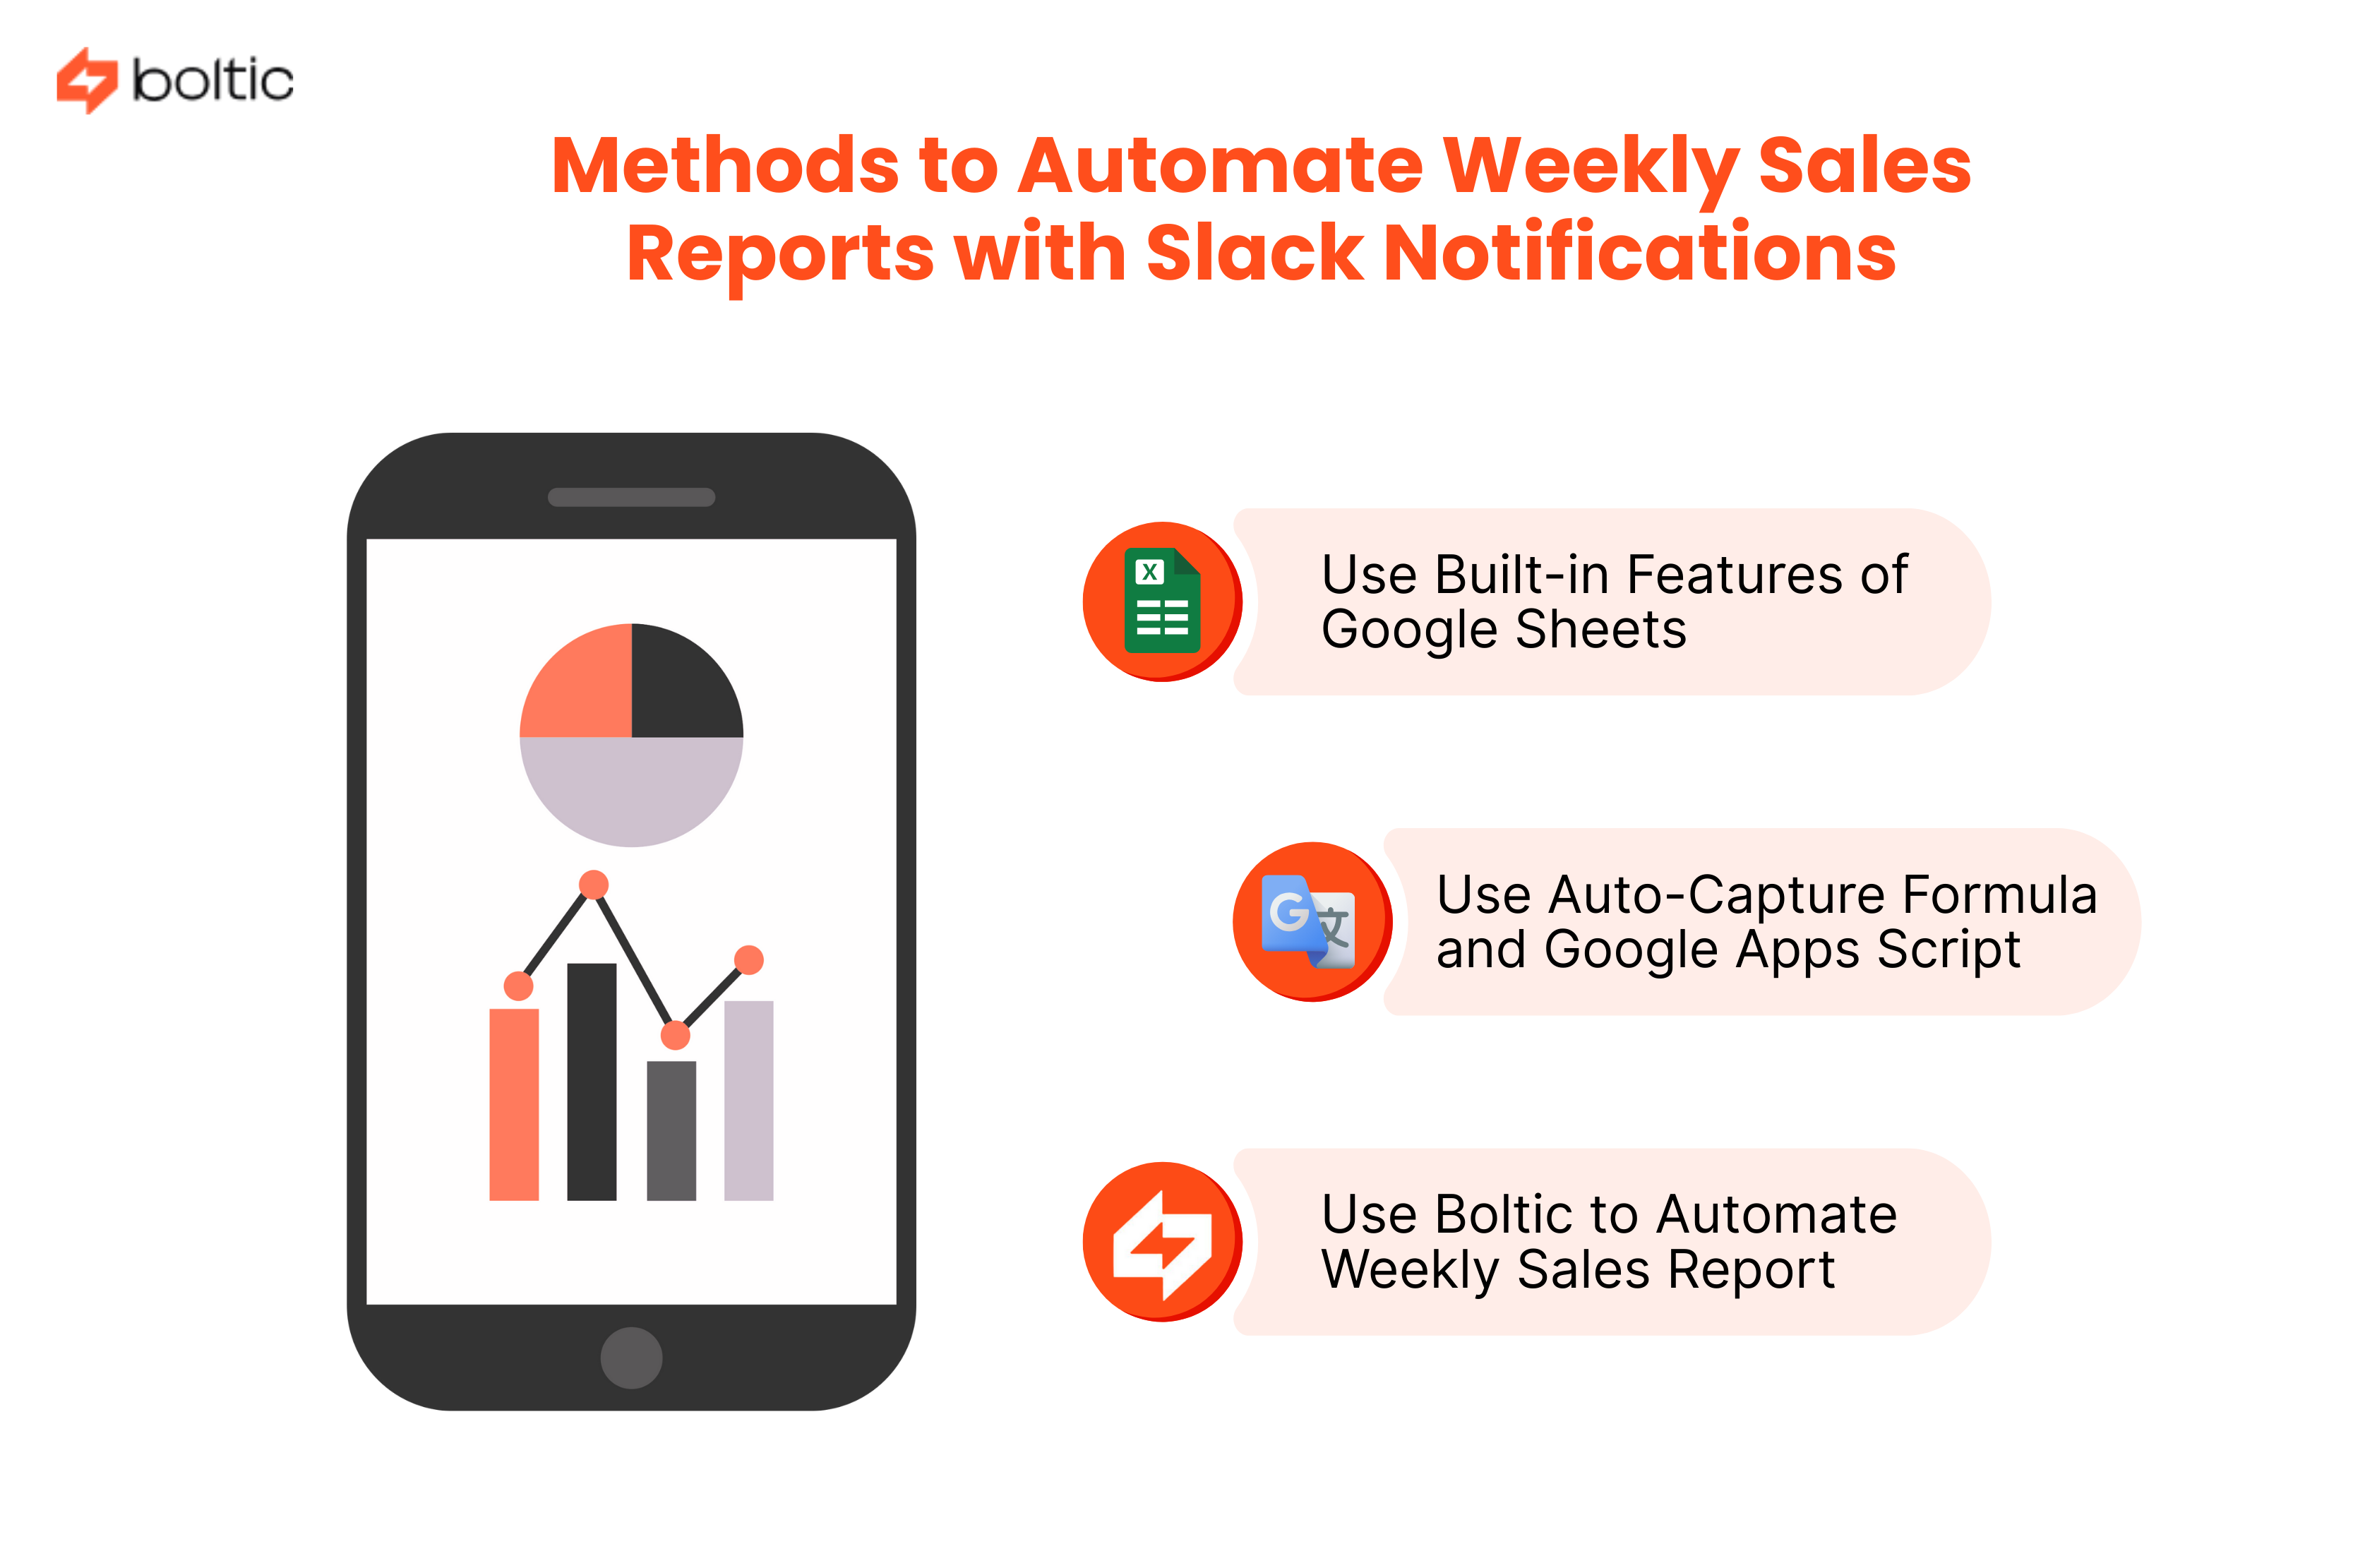
There are three methods to automate weekly sales report with Slack notifications. Let’s check each of them:
Use Built-in Features of Google Sheets
The steps below are a guide on using Google Sheets’ Explore features for automating the sales reporting process.
Step 1: Access the Sales Data
Load the sales data in Google Sheets and click the Explore button at the bottom-right corner. The panel will give you quick access to automatic summaries, charts, and insights based on the sheet you are viewing.
Step 2: Create Charts Automatically
The Explore/Analysis panel will show ready-made charts, stats, and summaries specific to your data. The visuals also include small explanations like what range they use or how much a value has changed over time.
You can expand the chart options, preview them in full size, and add any graph to your sheet simply by clicking Insert or dragging it in. After placing the chart, click on any part of it to open the Chart Editor. It will let you adjust style, labels, or data ranges as per the need. It eliminates the need to build reports manually and speeds up your weekly reporting process.
Step 3: Understand the Data in Detail
Use the Answers section to query your sales data. It works like a simple built-in assistant that responds with instant insights. Type questions about totals, trends, or comparisons, and you will get the answer, formula, and sometimes suggested visualization.
Step 4: Deliver These Reports to Slack Weekly
Once your sheet is set up with charts and insights, here is what to do:
- Copy the link of the Google Sheet where you updated the charts live.
- Go to Slack and create a weekly scheduled reminder in the channel where you want the update shared.
- Add a message stating ‘weekly sales report is ready’, or anything else.
- Paste the sheet link in the notification.
Slack will now send this message every week at your chosen time, ensuring your team gets the updated sales report without manual sharing.
Use Auto-Capture Formula and Google Apps Script
Here is how to proceed with automation in Google Sheets using a different approach:
Step 1: Create the Auto-Capture Report Sheet
In your sales spreadsheet, create a new sheet named ‘Weekly Report’. Use a formula that auto-filters the last 7 days. Put this in ‘Weekly report A1’:
Here, RawData is your raw data sheet with a date column A and a value column E (adjust to match your columns).
Step 2: Add Apps Script (code required)
- In Google Sheets, go to Extensions and then Apps Script.
- Delete any placeholder code and paste the script below.
- Replace the Slack incoming webhook URL.
- If you want a PDF link posted as well, leave that part enabled. Else, comment out the PDF block.
Step 3: Create a Slack Incoming Webhook
- In Slack, go to Apps, then search ‘incoming webhook’ and then ‘Add’ (or create a Slack App and enable incoming Webhook).
- Choose the channel where the message should be posted.
- Copy the webhook URL and paste it into the script ‘SLACK_WEBHOOK_URL’ config.
Step 4: Test the Script
- In the Apps Script editor, choose the function sendWeeklyReportToSlack and click Run.
- Authorize required permissions (Drive, Spreadsheet, UrlFetch)
- Check Slack for the posted summary message. If INCLUDE_PDF_LINK is true, you should also see the PDF link.
Step 5: Schedule to Run Weekly
- In the Apps Script editor, go to Triggers and click on ‘Add trigger.’
- Choose function: sendweeklyReportToSlack
- Click on the event source and then choose time-driven, followed by Week Timer. Now pick the day & hour. Save it.
Now it will run every week automatically.
Points to Remember:
- Keep the report sheet names and ranges consistent. The script expects a sheet named SHEET_NAME.
- For more compact Slack posts, shorten the number of rows by lowering MAX_ROWS_TO_SHOW.
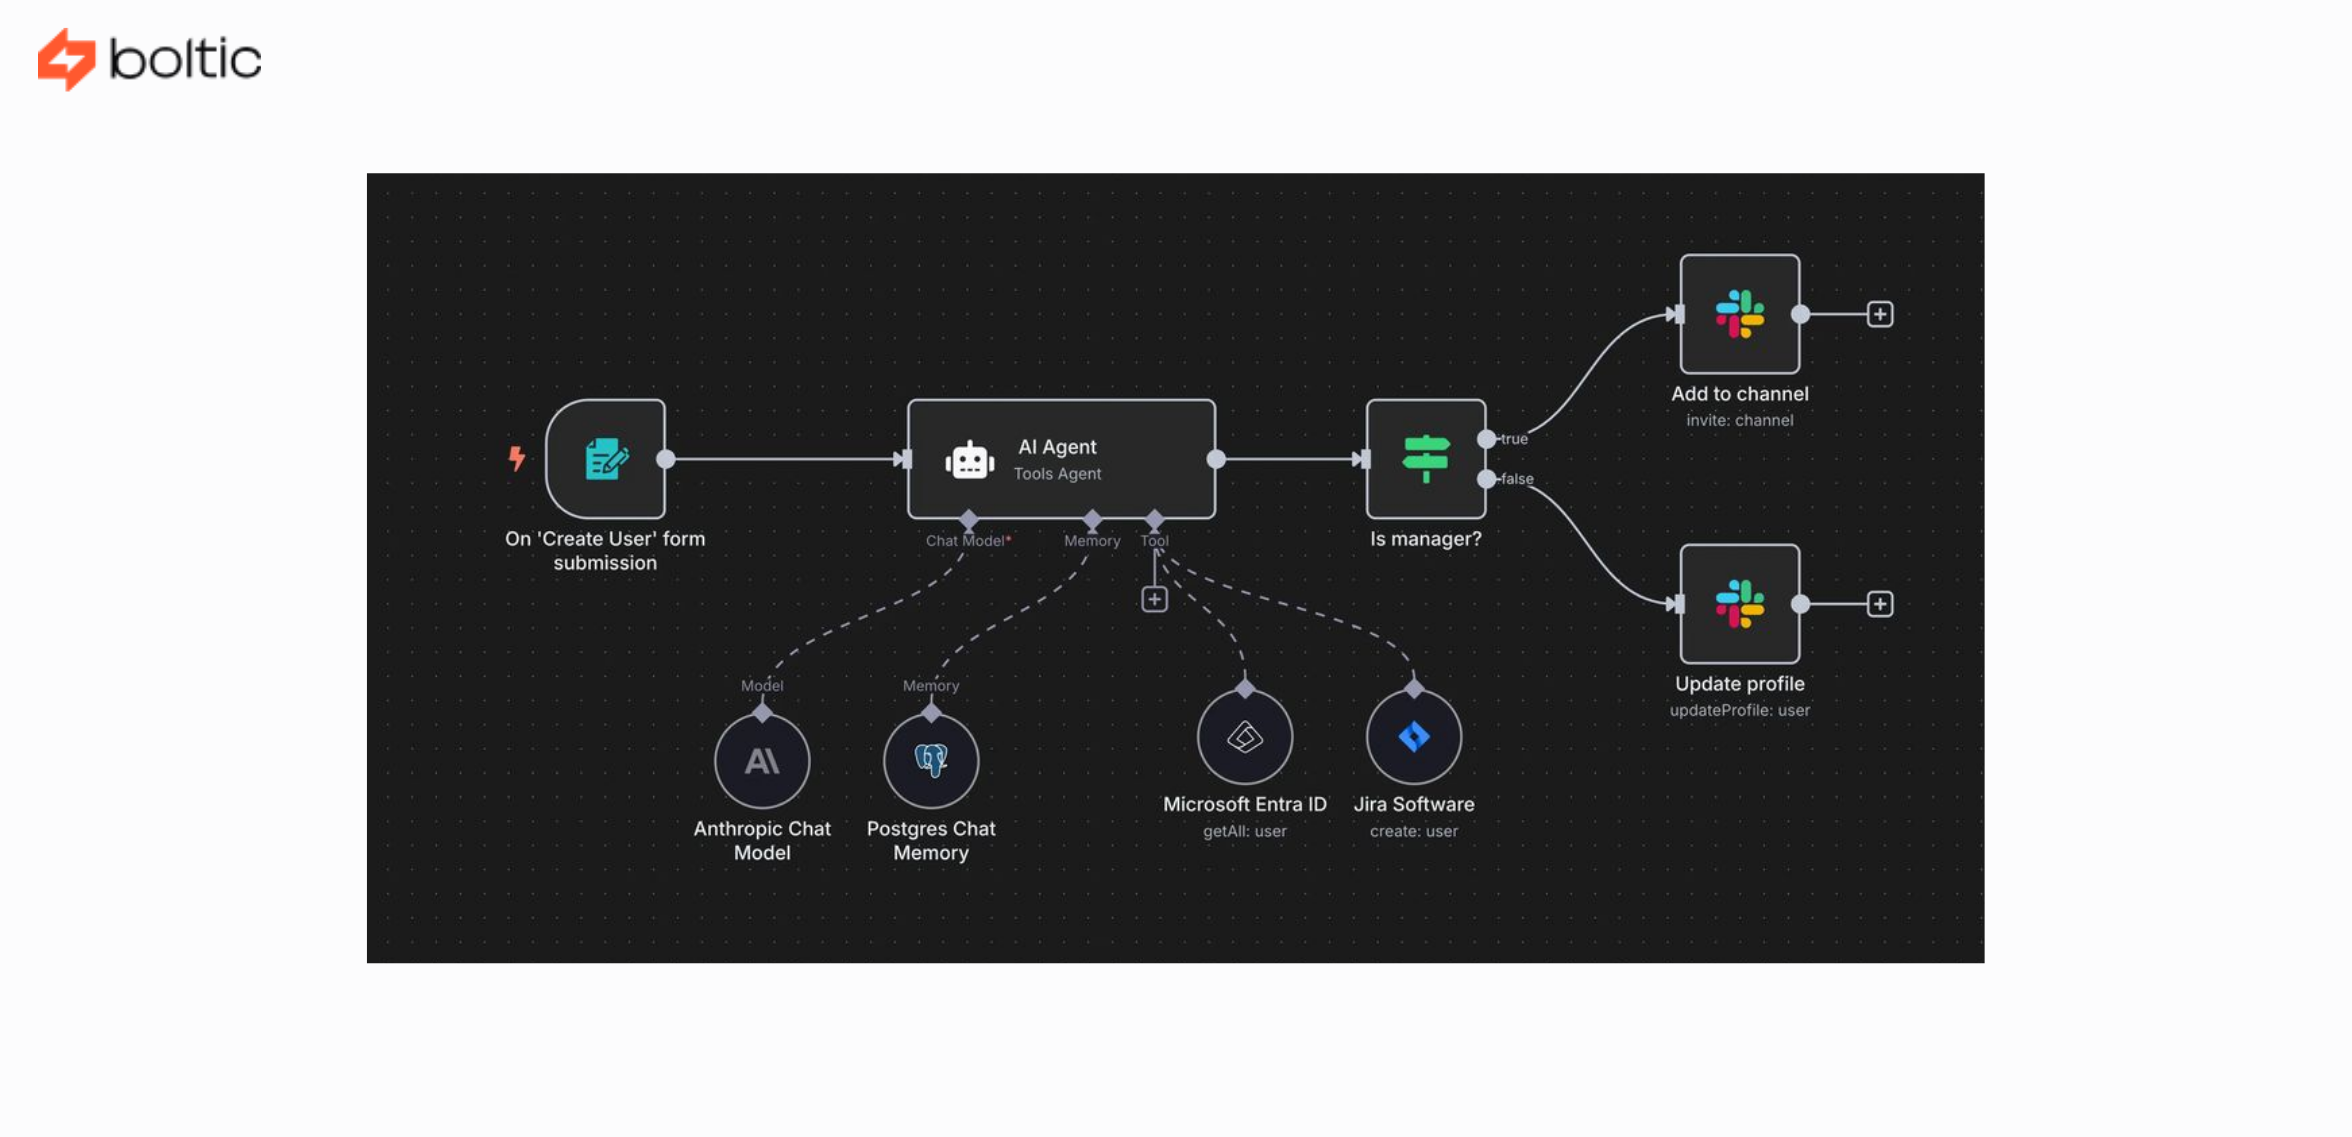
Use Boltic to Automate Weekly Sales Report
Here is how to achieve it all effortlessly with Boltic and without code. Simply follow the steps below to streamline reporting and push weekly insights to your Slack channel automatically.
Step 1: Define Your Requirements
It means you must know what to automate. Here are a few suggestions that you may consider:
- Which sales KPIs should appear in the weekly Slack report?
- How often should it be sent (weekly)?
- Which data sources will feed into this report?
Step 2: Integrate Data Sources
Supporting over 100 pre-built integrations, the Boltic can easily integrate with the data source. Connect them to get accurate and updated information. To integrate the data sources, here is what steps to follow:
- Select the data sources to be displayed in the reports.
- Use the Boltic’s Workflow to set up and configure the integration
- Evaluate the integration to ensure correct data is showcased in the reports
Step 3: Design the Reports
You can design the reports using numerous customization options available in Boltic’s Workflow. You can incorporate graphs, charts, and explore other visual options to make the report readable as per your preference.
Step 4: Automate Report Generation
This step, too, is easy. Set up the automation using Boltic’s Workflow by defining the report generation and distribution schedule. Choose any frequency, distribution method, and receivers to eliminate manual intervention completely. Ensure to monitor the automation process to verify the desired results. Optimize the process as per the necessity.
Conclusion
The process to automate weekly sales reports need not and should not be manual and time-consuming. Be it Google Sheets, Apps Scripts, or fully automated with Boltic, the process can be simple and reliable. You can use them easily to automate and send insights to Slack in a scheduled manner with this guide. The process is certain to boost team alignment, improve accuracy, and ensure everyone gets timely performance visibility. Choose the method that matches your workflow and let automation handle the rest.
drives valuable insights
Organize your big data operations with a free forever plan
An agentic platform revolutionizing workflow management and automation through AI-driven solutions. It enables seamless tool integration, real-time decision-making, and enhanced productivity
Here’s what we do in the meeting:
- Experience Fynd Boltic's features firsthand.
- Learn how to automate your data workflows.
- Get answers to your specific questions.