Slack
Slack is a workspace tool that allows team members to communicate with each other via both dedicated channels and private chats. Boltic supports Slack as a Destination that allows you to share personalized reports and stay connected with other team members to get things done.
Step by Step Guide to Configure Slack as a Destination
Step 1: Add a Destination
Go to the Add Destination page to select Slack as a Destination
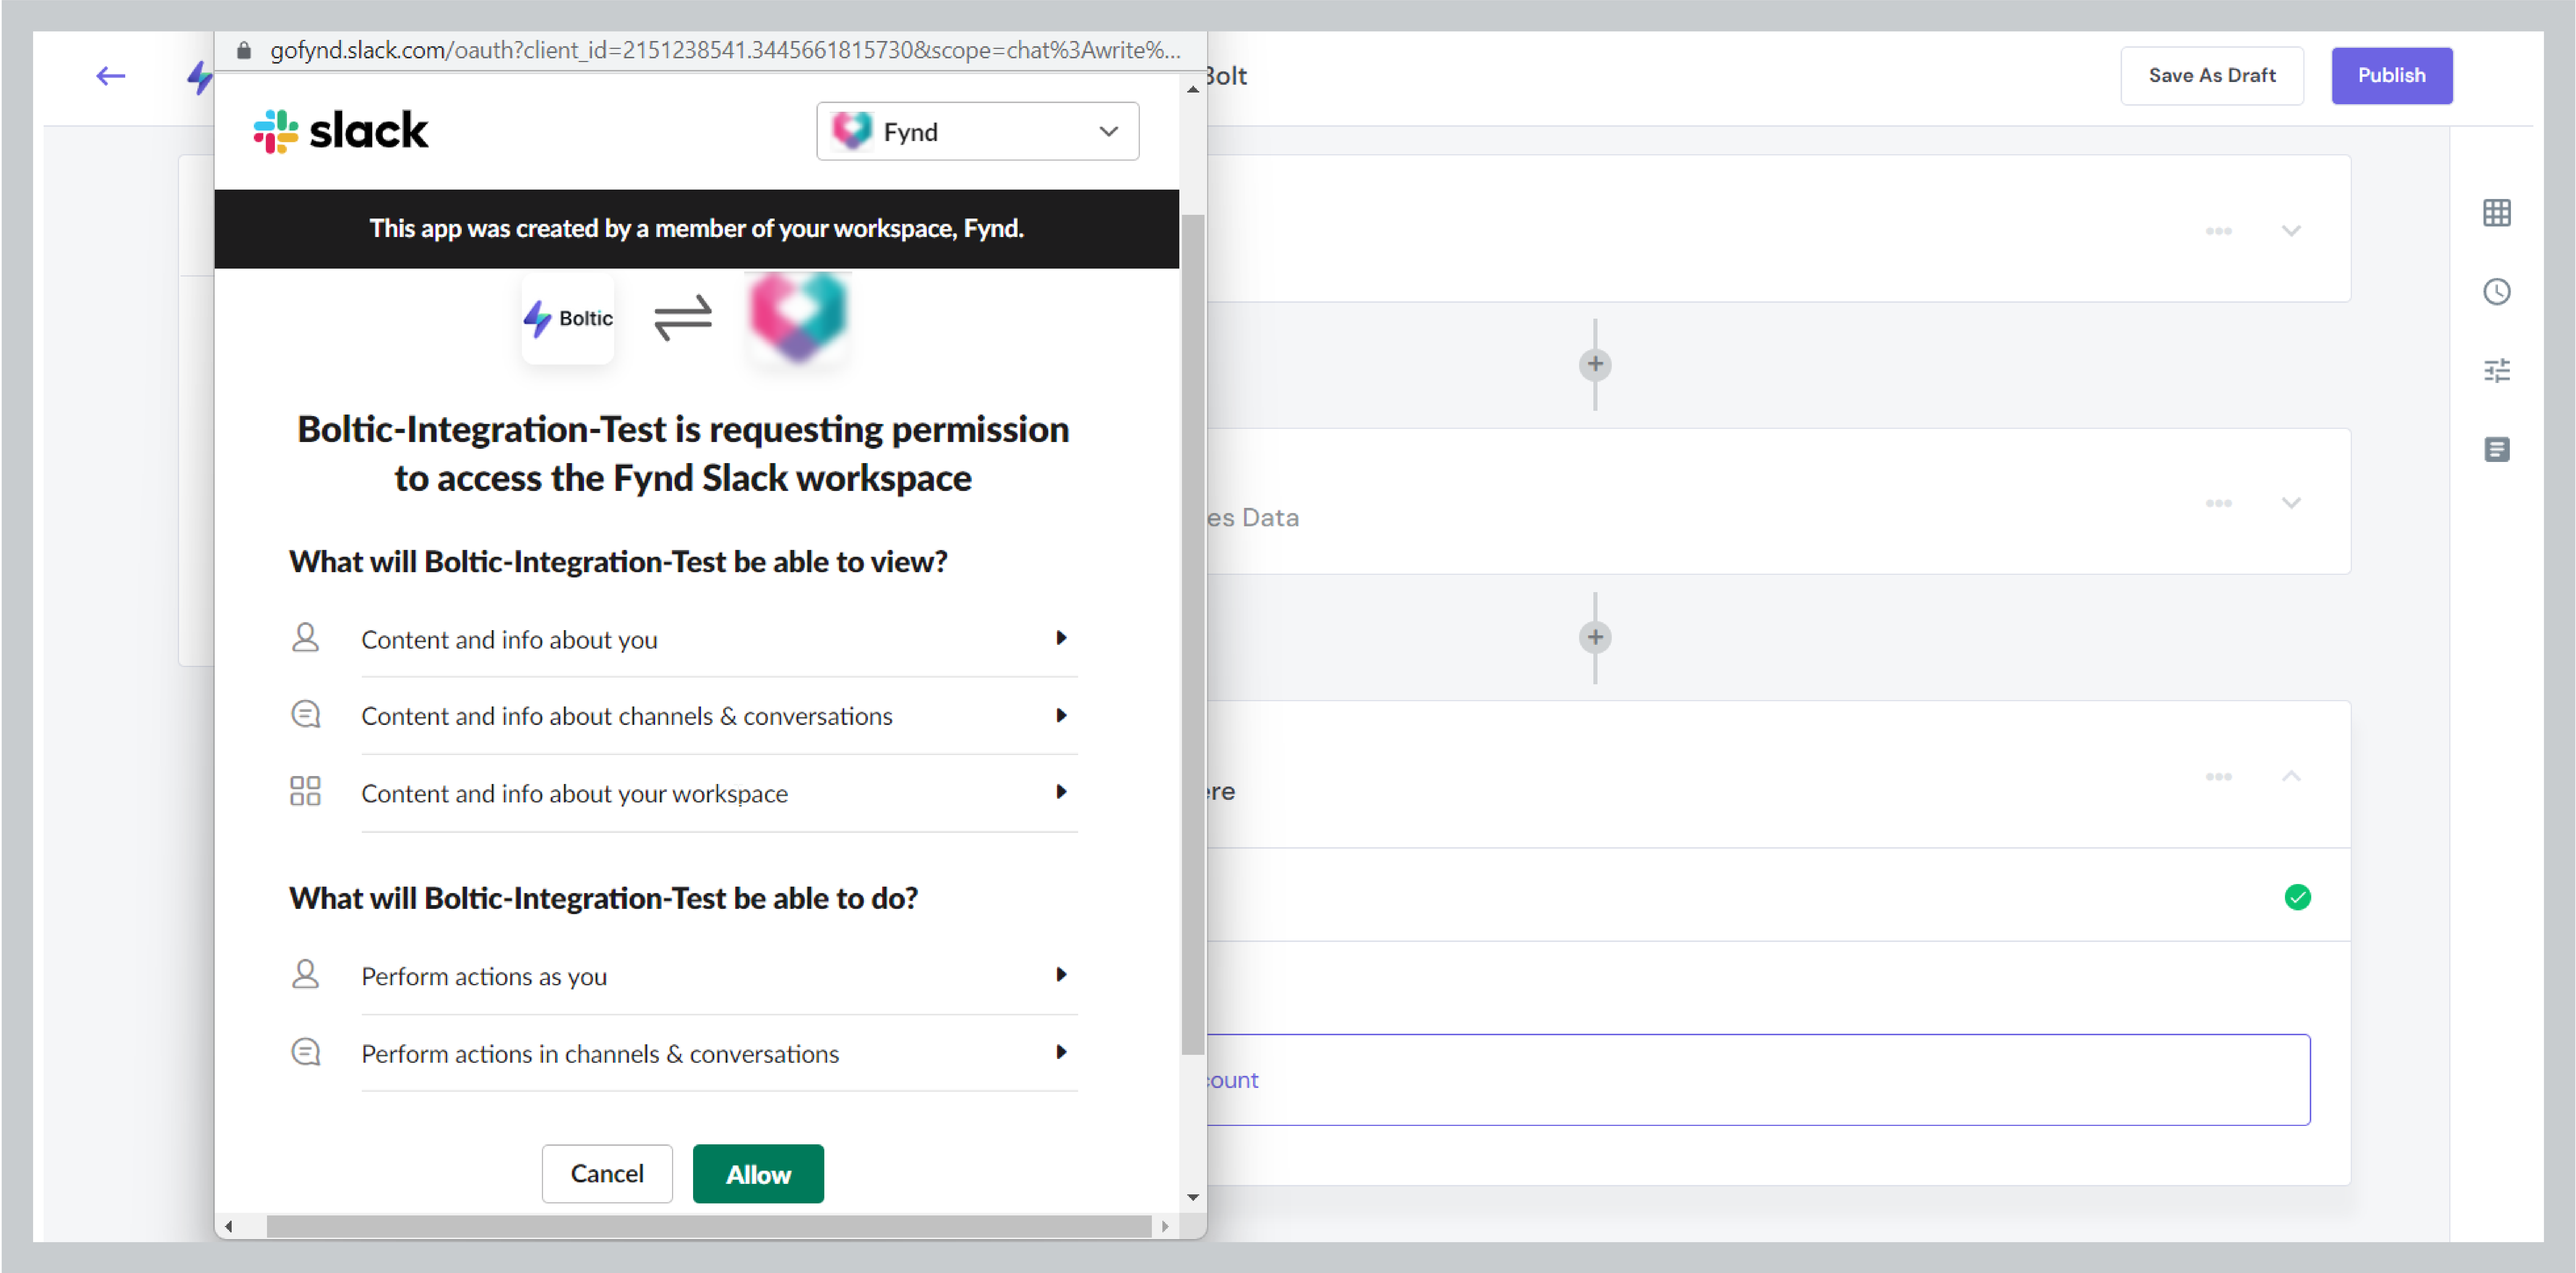
Step 2: Authenticate the Destination
- Click the Sign in with Slack Account to authenticate your desired Slack account

- Now, click the Allow button to authorize Boltic to access your Slack account
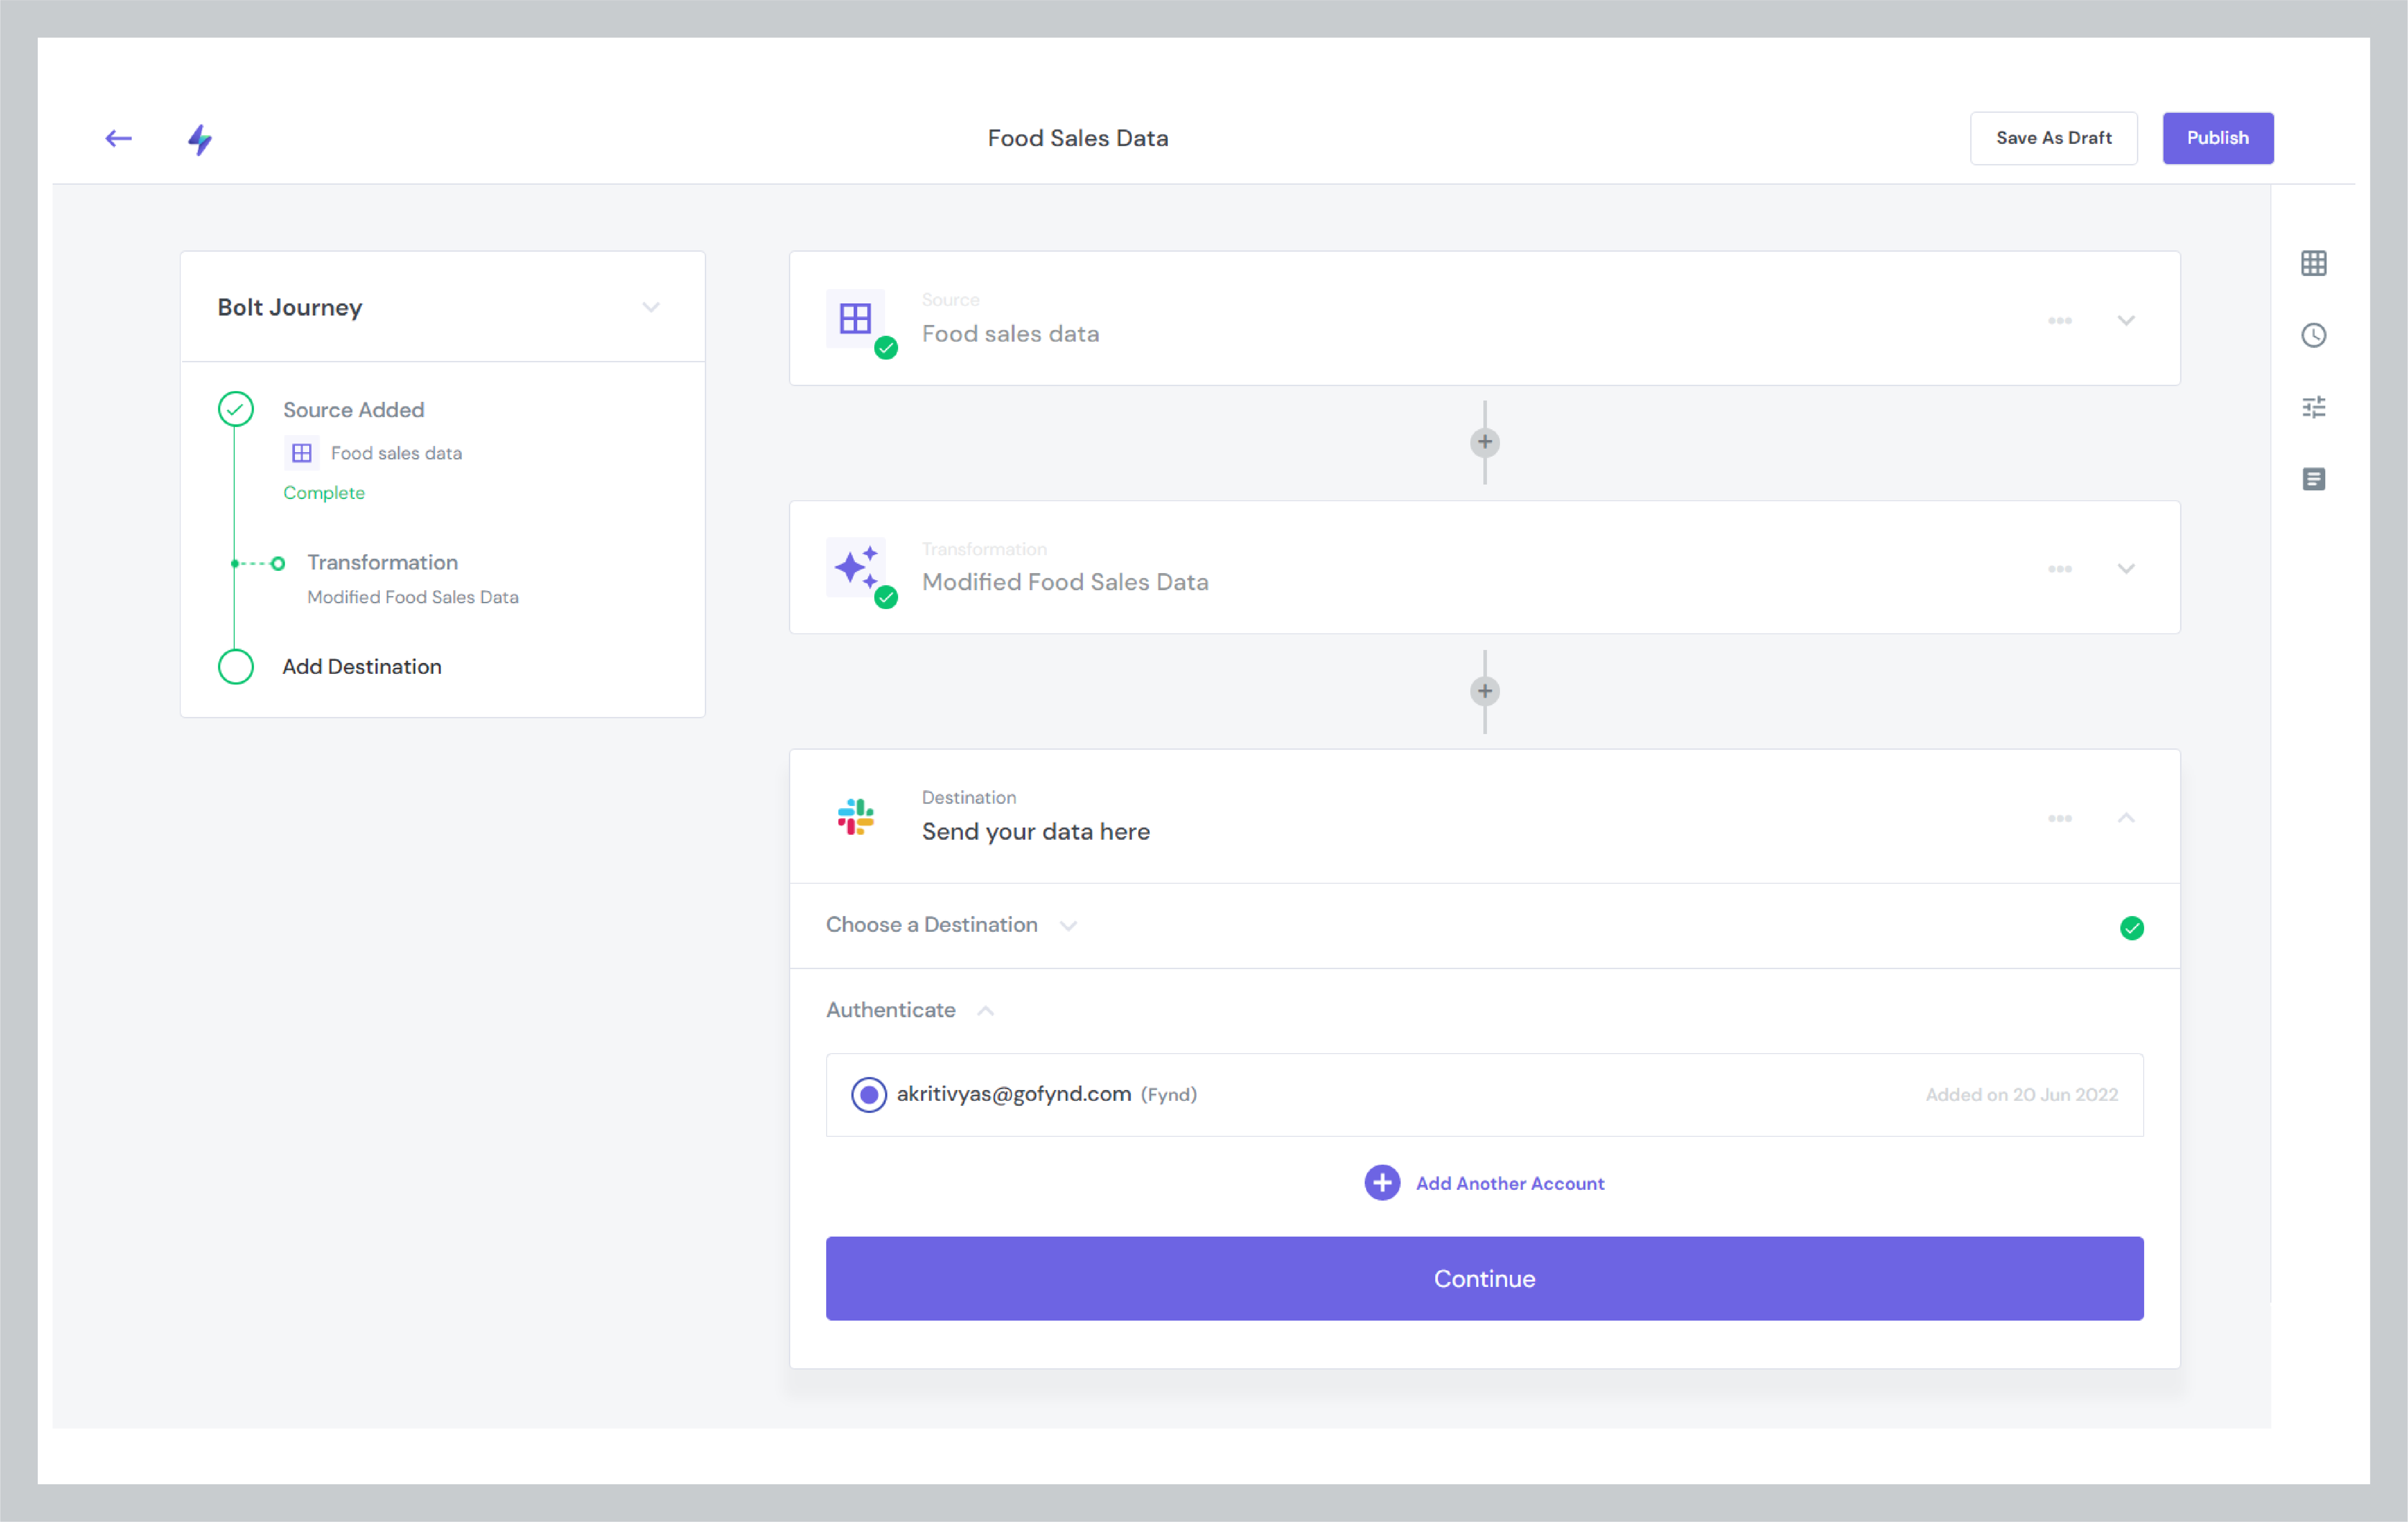
You can add the multiple slack accounts by clicking the Add Another Account plus icon
When you add the another account you can add the another workspace as well
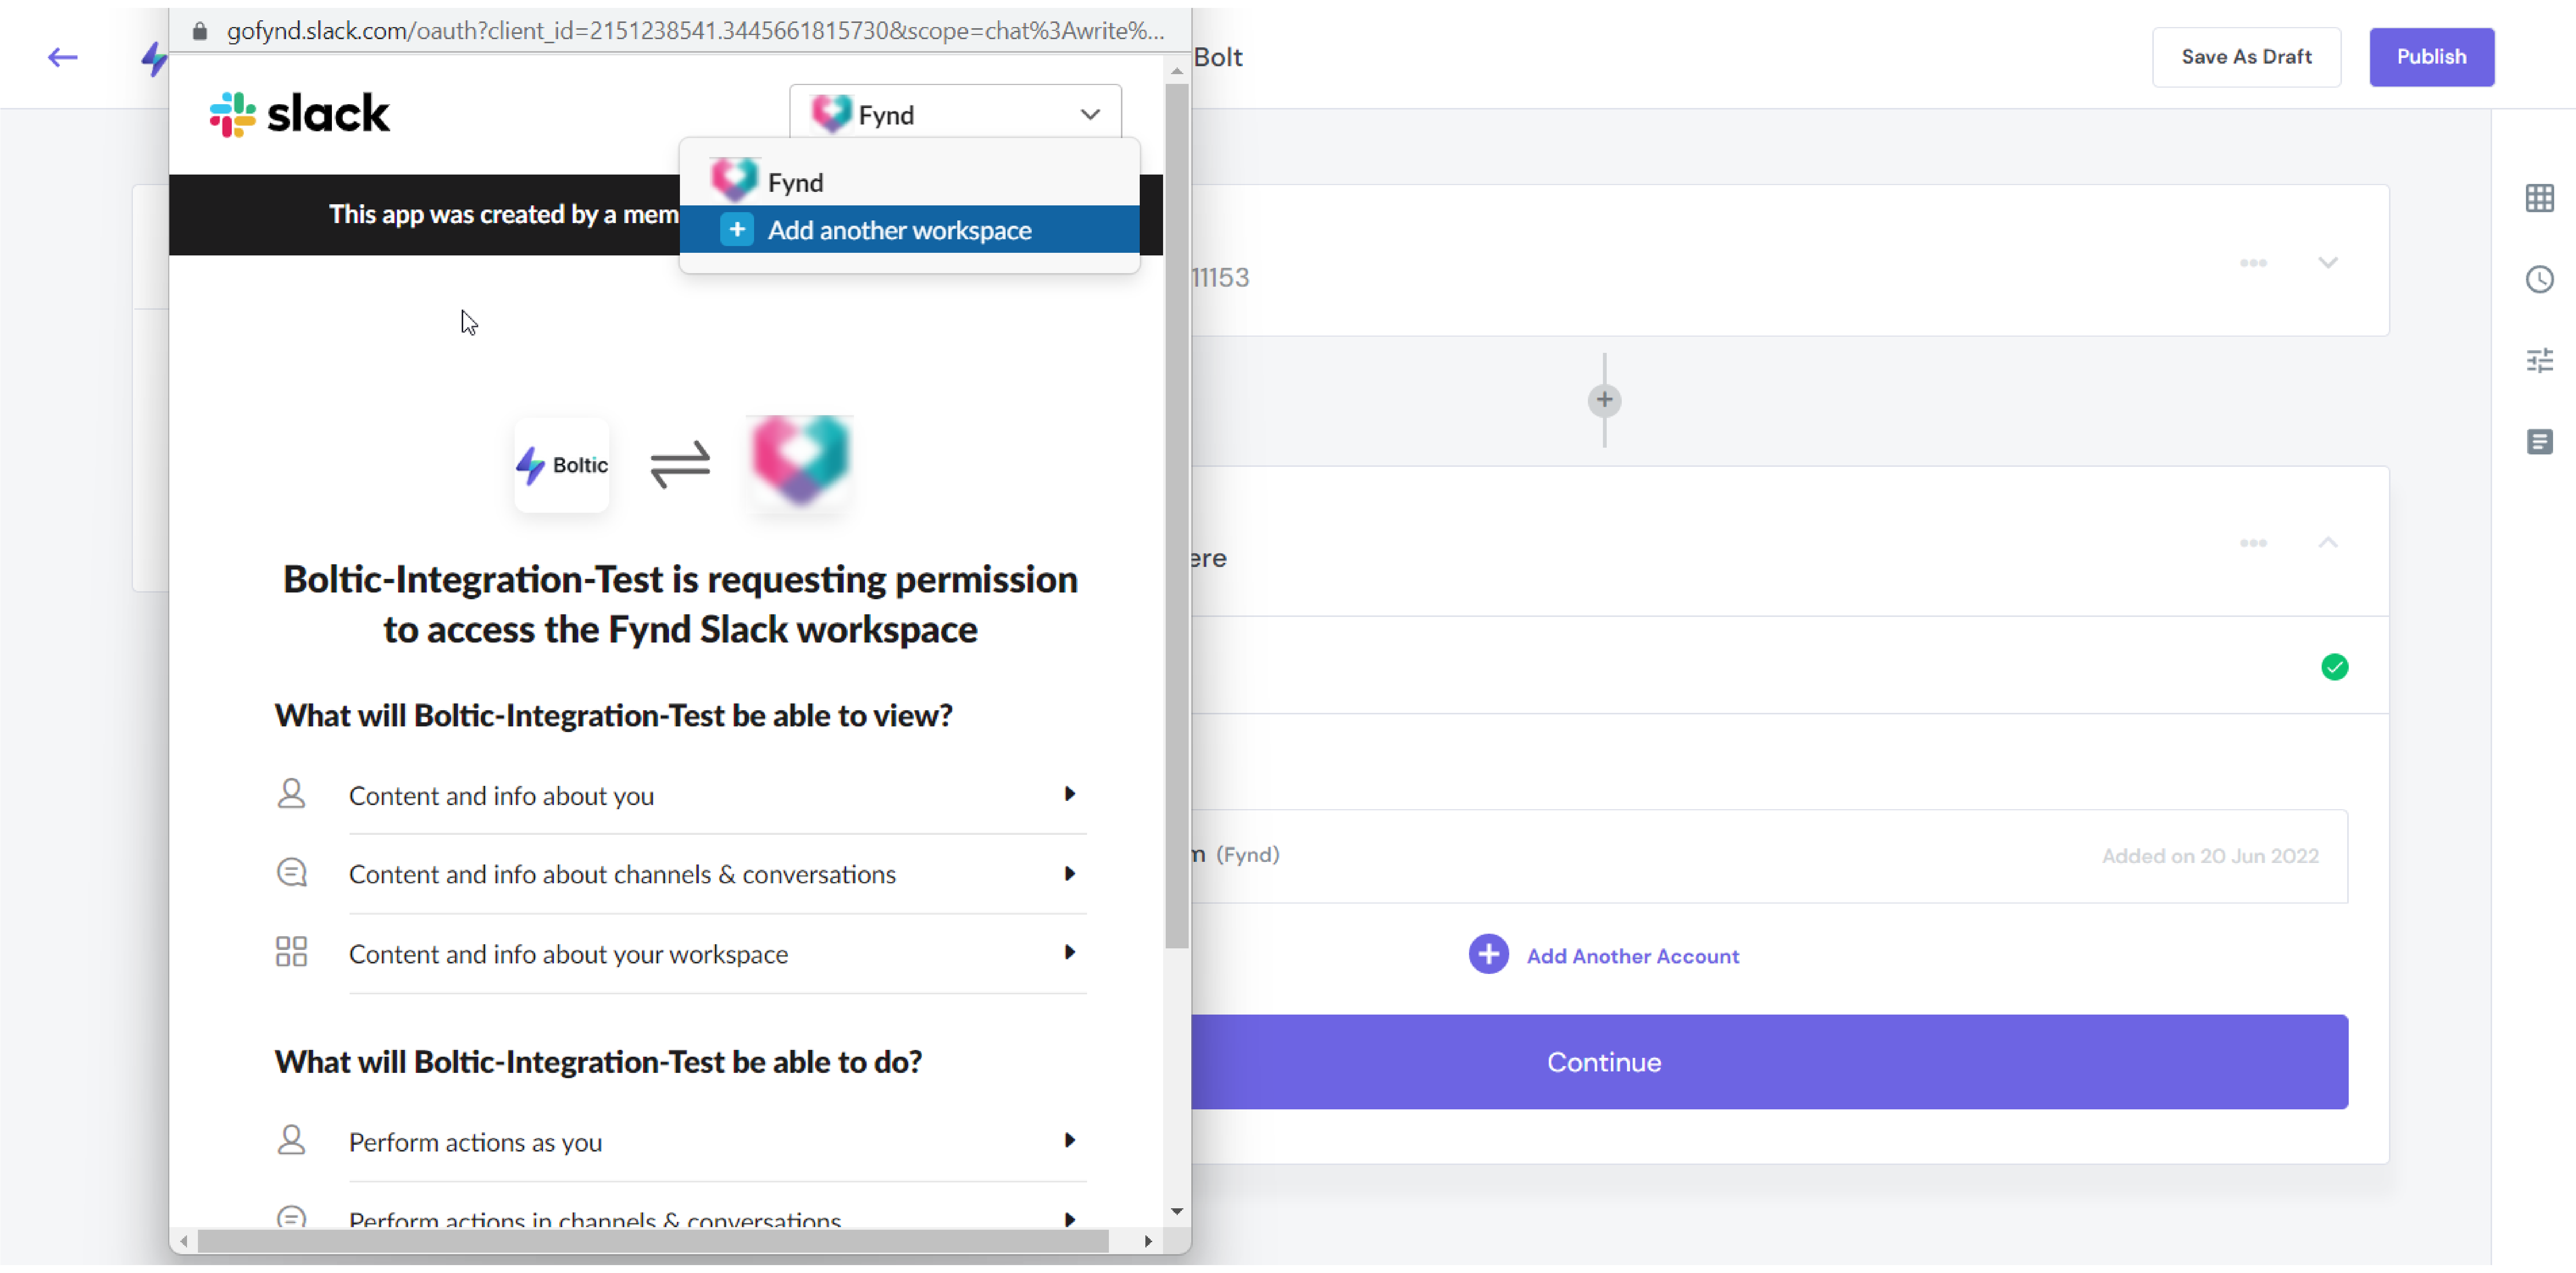
- Click the Continue button
Step 3: Configure the Destination
Before sending the personalized report to your teammates, Boltic allows you to change the configuration settings as per your requirement.
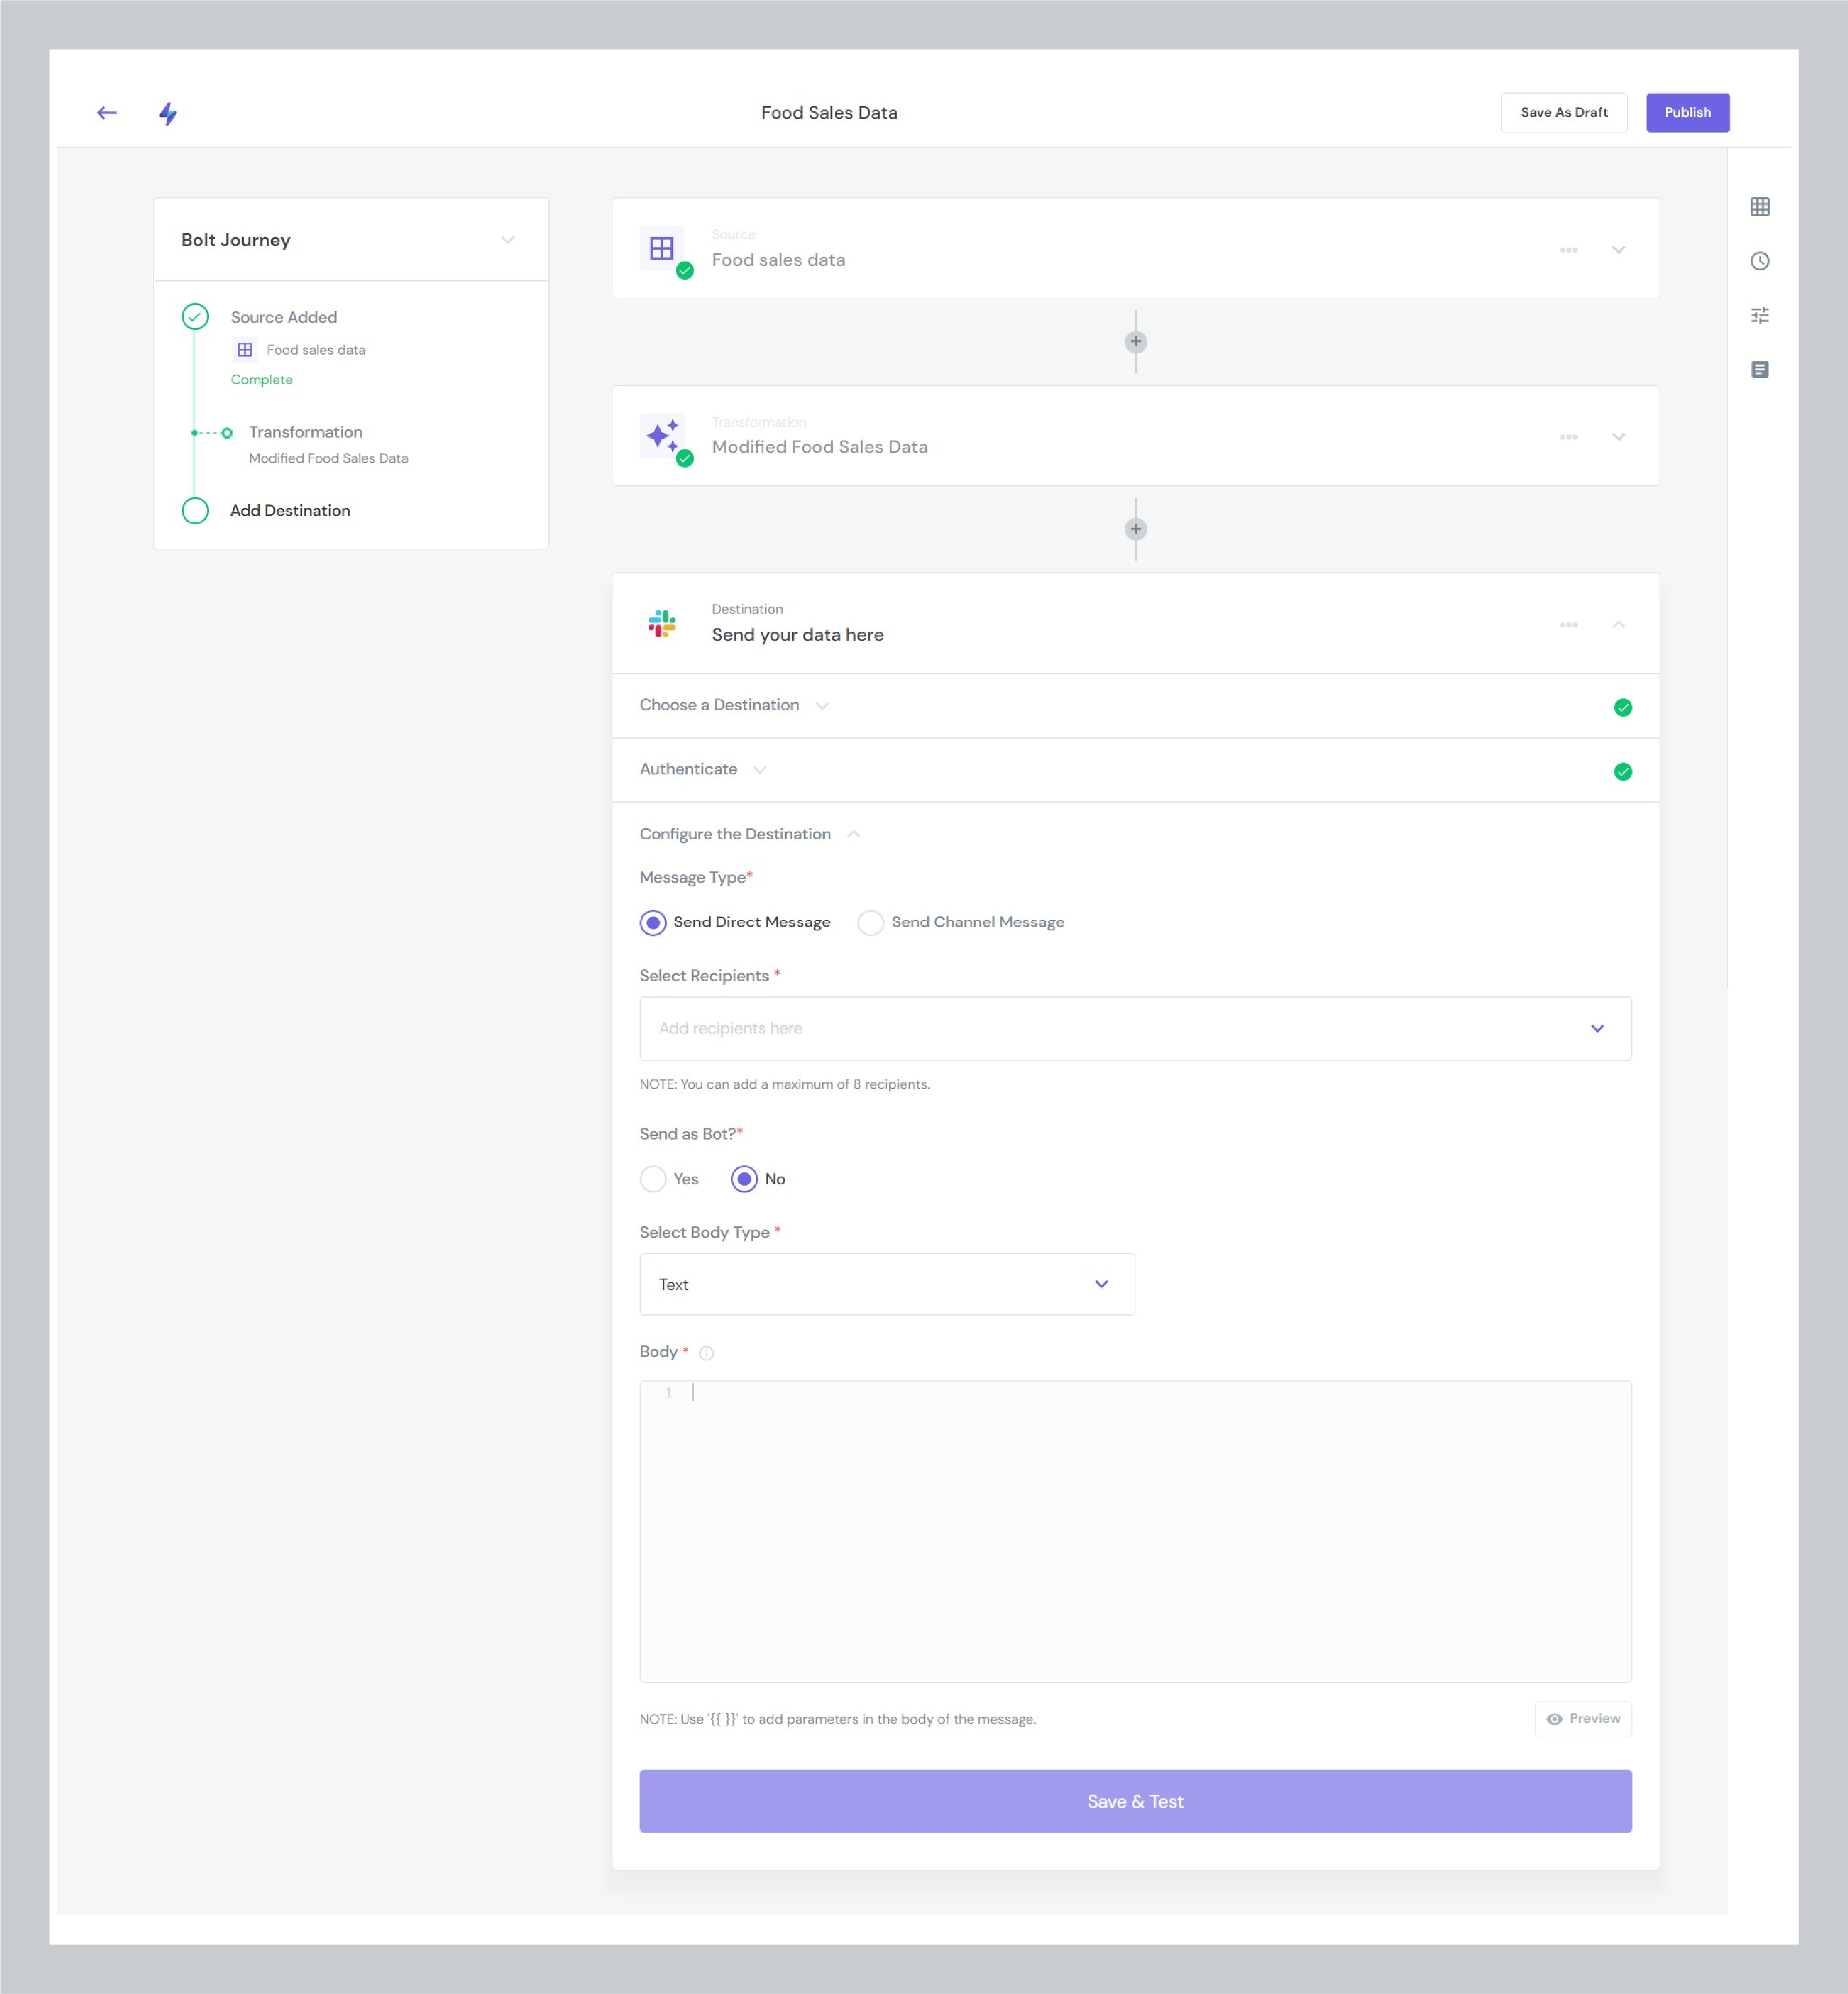
By default the Message Type is selected as a Send Direct Message that is responsible to send the message to the recipients directly. If you want to send the message to the channel then select Send Channel Messages
Now select the Recipients whom you want to send the message
Note
When you send a message directly to the teammates you can add up to 8 recipients per message
Select the Send as Bot to send the message as a Bot to the teammates.
Give a name to the Bot
Give a face to the Bot by entering the image URL or emoji code in the Bot Icon text box
Now click the Body Type dropdown to format a message. You can format the message either in a simple text using Text or in JSON, using " Block" as a body type
You can also pass the parameter in the Body section using
{{}}curly braces.If you choose Block as a body type and want to send a parameter you need to specify the parameter like this
{{parameter | json}}Click the "Preview" button to view your slack message before sending it to the recipients.
You can also click the Use Slack Block Builder to create a slack message by stacking “blocks,” visual components. Once you create a message you can copy and paste it to Body.
Read this doc to generate a slack message dynamically
Step 4: Save & Test
Click Save & Test to configure the Slack message successfully
Step 6: Publish the Bolt
Click "Publish" and give a meaningful name and description to the bolt.
Run the Bolt
Once your Bolt gets created successfully, go to the Bolt Overview Page, click the Run button to send the email
Scheduling 🕐
After successfully sinking data to the destination, you can click on the "Schedule" to run data continuously to a destination and repeat at a given time or interval.
Any Question? 🤓
We are always an email away to help you resolve your queries. If you need any help, write to us at - 📧 support@boltic.io