BigQuery
BigQuery is Google's fully-managed, serverless enterprise data warehouse that gives you the capability to run complex analytical SQL-based queries against large datasets.
Permissions
To load data to BigQuery, Boltic requires access to read and write to BigQuery as well as GCS. The files written to GCS will be automatically deleted after every seven days to clear the space. These permissions are granted to the account that you use to connect Boltic to BigQuery.
Prerequisite
Before sending data to your BigQuery, first you need to add it as an Integration.
Step by Step Guide to Configure BigQuery as a Destination
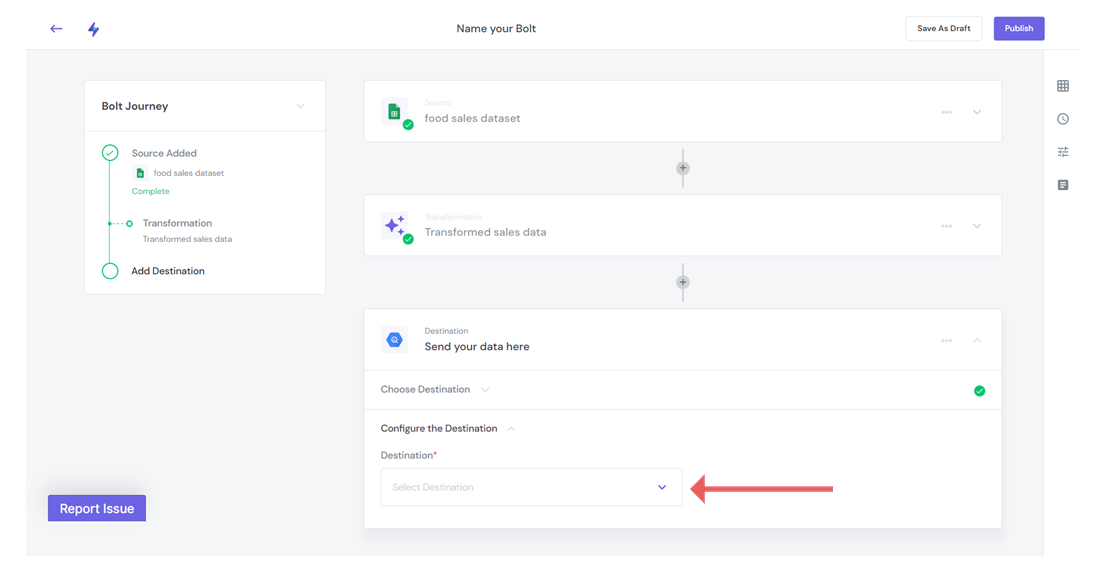
Step 1: Add Destination
Go to the Add Destination page to select the BigQuery as a Destination
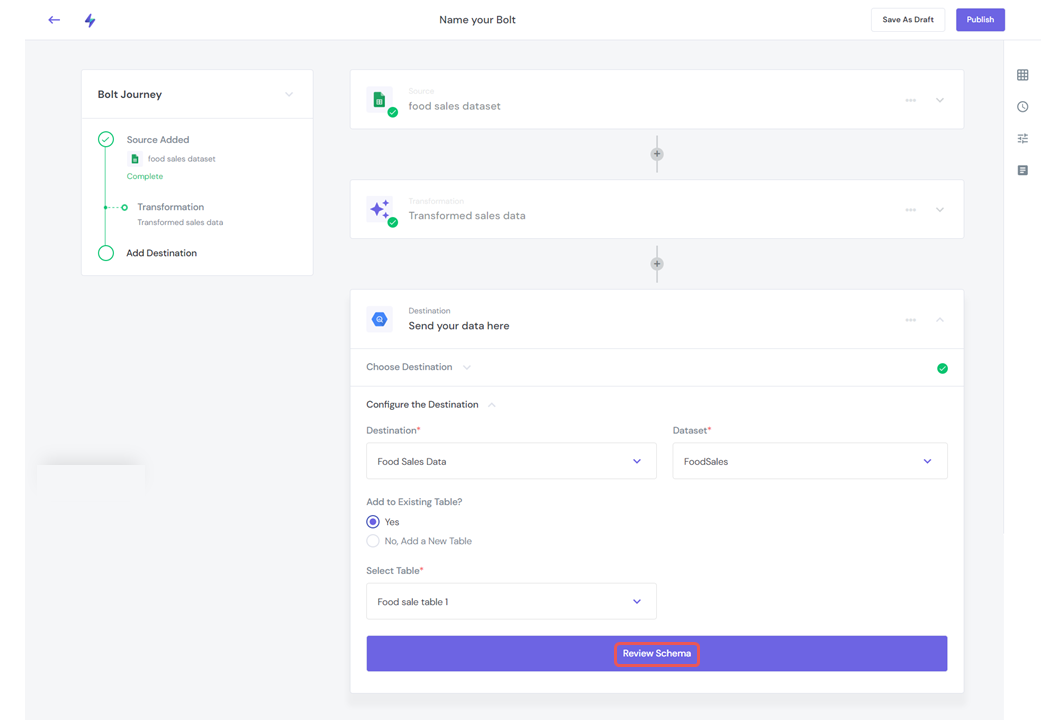
Step 2: Configure the Destination
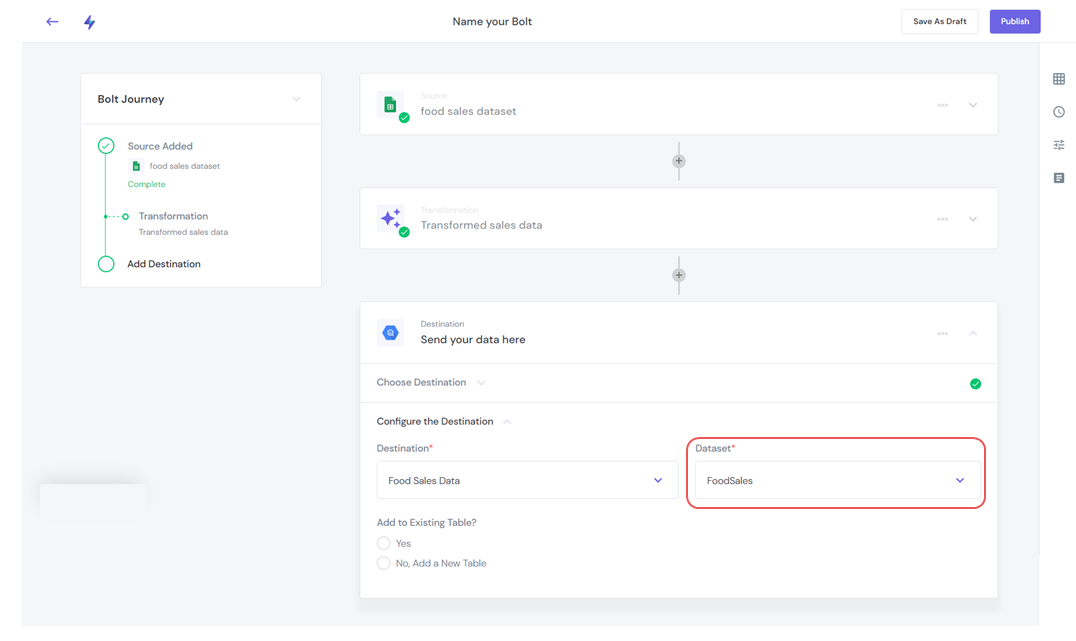
- Click the Destination dropdown to select a Destination from the available BQ destinations list
- Click the Dataset dropdown and then select the dataset to which you want to add the table
Step 3: Loading Methods
When loading data into BigQuery, you can create a new table or overwrite an existing table.
After selecting the data source and dataset, you can either sink the data to an existing table or create a new table
To keep the data in an existing table click on the Yes option and then select the Table name
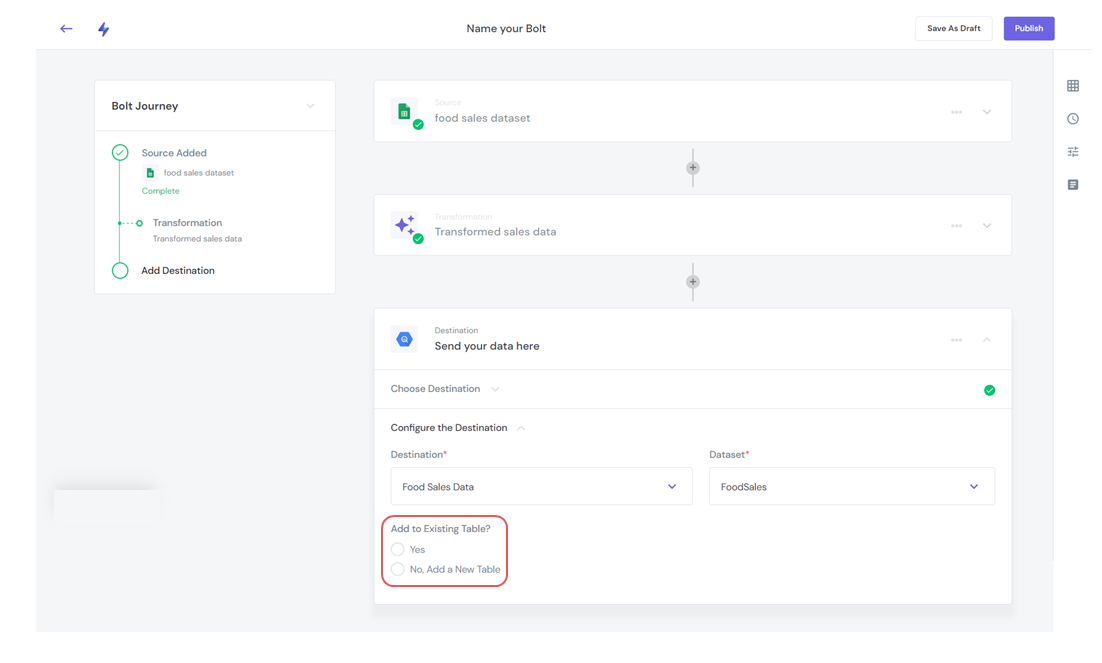
- Click on the No, Add a New Table option and then create a new table name
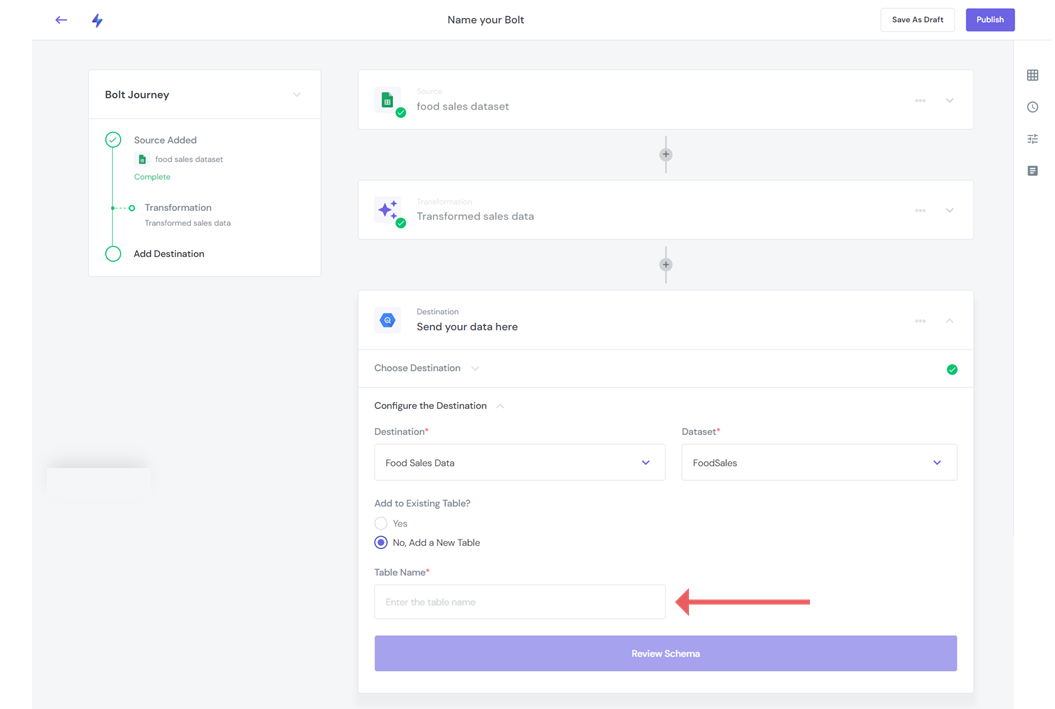
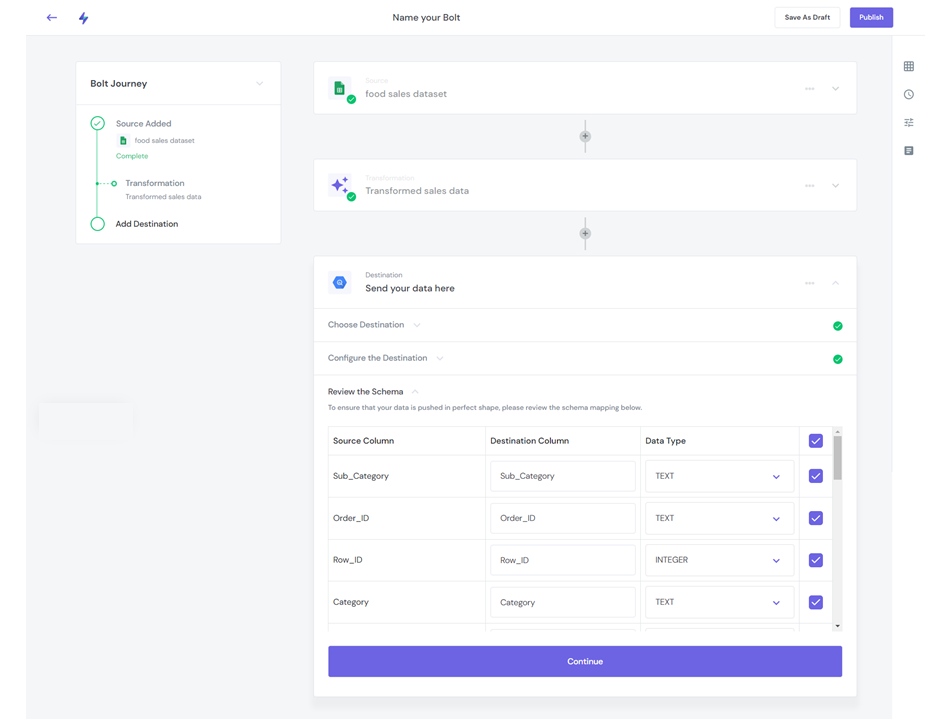
Review Schema
- Click the Review Schema button to map and un-map the columns. Basically, by reviewing schema you can fine-tune your data and bridges the difference in the schema of the Source and Destination.
| Source | View each source column. |
| Destination | View the mapped destination column or select a different column. |
| Data Type | View the data type for the destination column or select a different data type. |

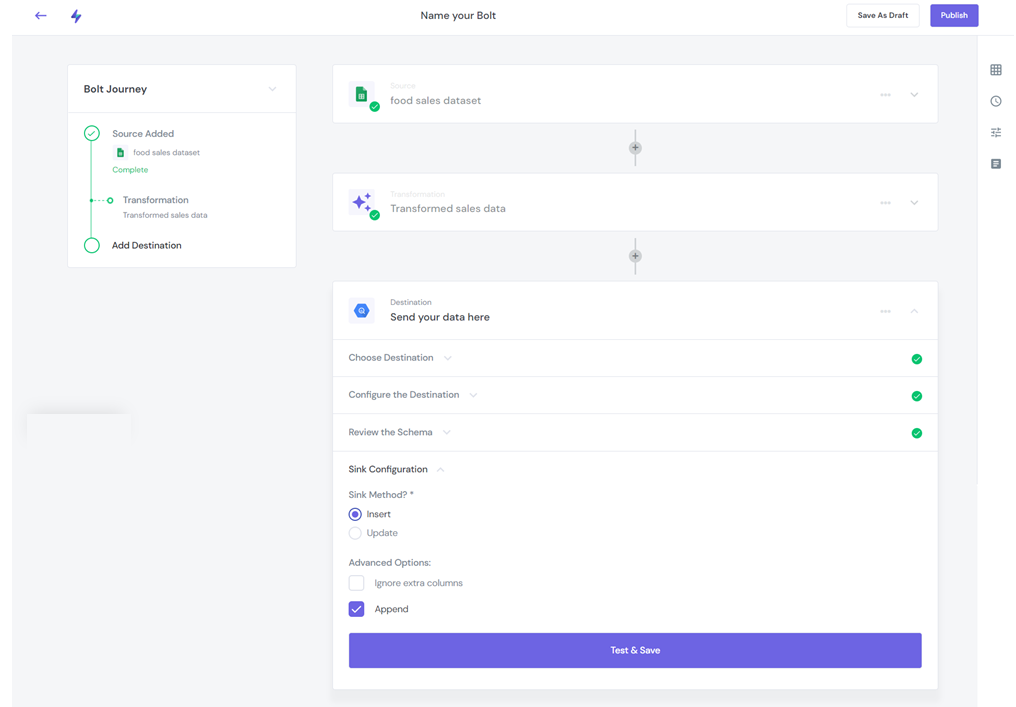
Sink Method
To write data to the destination you can use any of the following sink methods-
INSERT
- Use the Insert method to add new rows to a table
Use Advanced Options
- Enable the Ignore Extra Source Columns to ignore unwanted columns from the output
UPDATE
- Use the Update method to change existing row values in a table.
In the Match on Keys box define the columns in which you need to update the data
If you enable the the Upsert advanced option the new row will be inserted if no match is found or updated. When a new table is created, the data is upserted by default in the first run.
You can enable the Ignore Extra Source Columns advanced option to ignore unwanted columns from the output
Step 4: Test & Save Destination
Once completed the above-mentioned steps, click the Test & Save button to save the destination
Step 5: Publish Bolt
Click the Publish to save the Bolt
Scheduling
After successfully sinking data to the destination, you can click on the Schedule to run data continuously to a destination and repeat at a given time or interval.
Any Question? 🤓
We are always an email away to help you resolve your queries. If you need any help, write to us at - 📧 support@boltic.io