Google Sheets
Boltic supports Integration with Google Sheets. It fetches data from your Google Sheets data source and allows you to create a Bolt that contains a sequence of actions such as integration, Transformation, Data Refresh, and Destination. In addition to this, you can schedule a Bolt at a fixed interval or date and time.
Setup Guide to Integrate Google Sheets With Boltic
Prerequisite
- To add a Google Sheets data source to Boltic, either you need an active Google Account or a Service Account. If you use service account to integrate the Google Sheets data source in Boltic you'll need to upload a JSON key file.
Note
The configuration gets failed if you don't share the spreadsheet with the Service Account's email address. This email address can be found in the Google Sheets API credentials page or in the JSON file under the "client_email" key.
Step 1: Add Google Sheets
Go to the Add Integration page to select Google sheets as an integration.
Step 2: Configuration
Integrate Google Sheets to Boltic either by using Google Account or Service Account
Do one of the following-
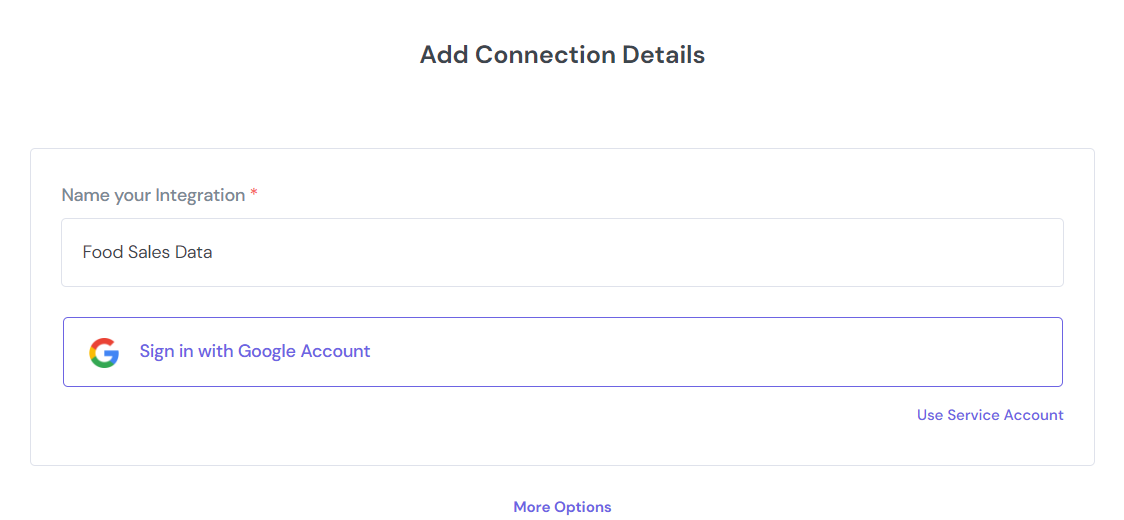
Google Account
Click the Sign in with Google Account
Enter an Integration name by which you want to refer to this Google Sheets Integration
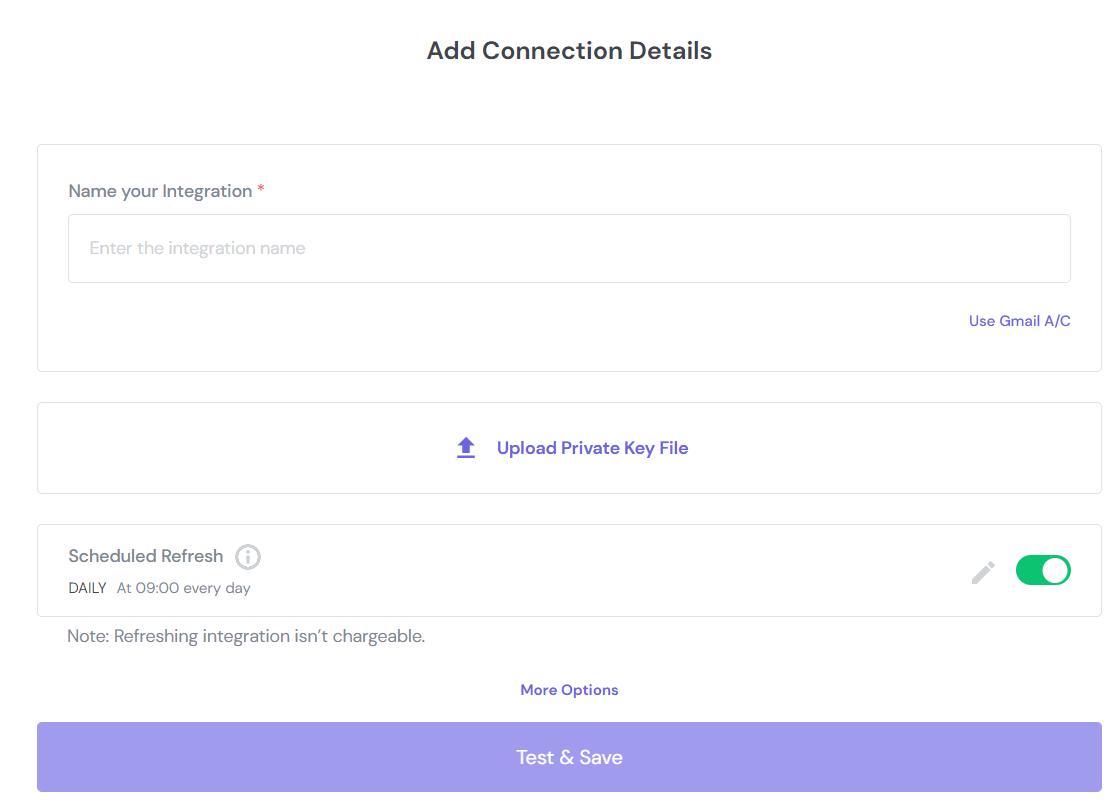
Service Account
- Click the Use Service Account
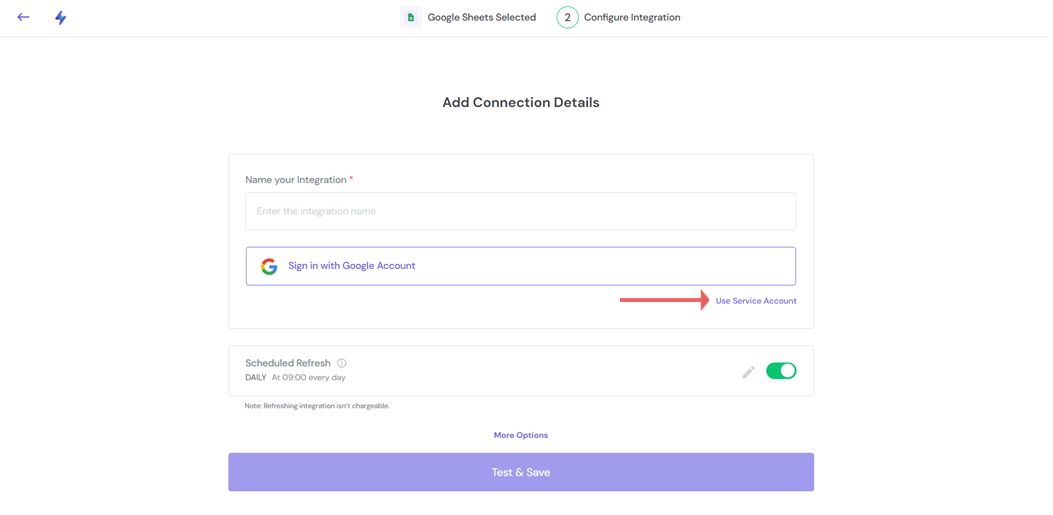
- Enter an Integration name by which you want to refer to this Google Sheets Integration,and then upload the Private Key
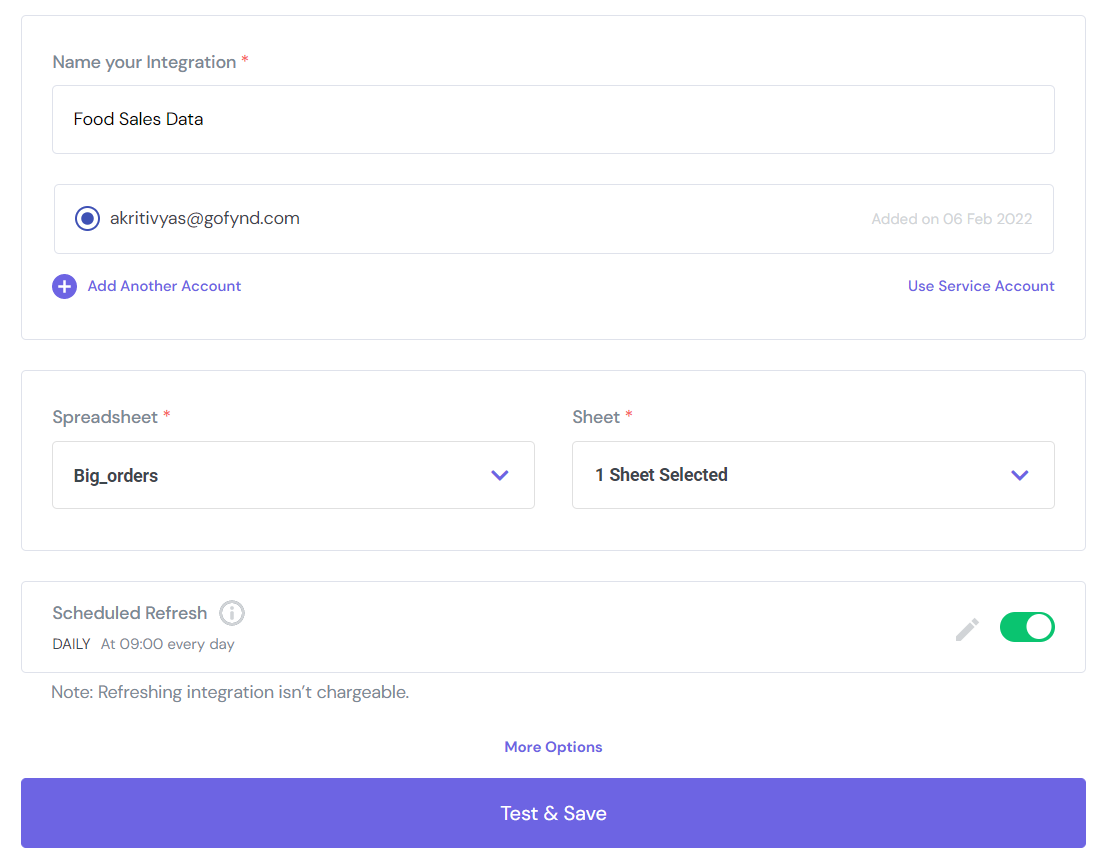
Step 3: Select Spreadsheet and Sheet
Whether you use a Gmail account or a service account to integrate Googlesheets. After you've set up the account, go to the Spreadsheet section and choose a Spreadsheet, and then the Sheet.
Scheduled Refresh
Boltic automatically refresh your data. When adding a Google Sheets as Integration to Boltic, you might want to see the latest updates and deletes. Click Scheduled Refresh to keep imported Google Sheets data up-to-date.
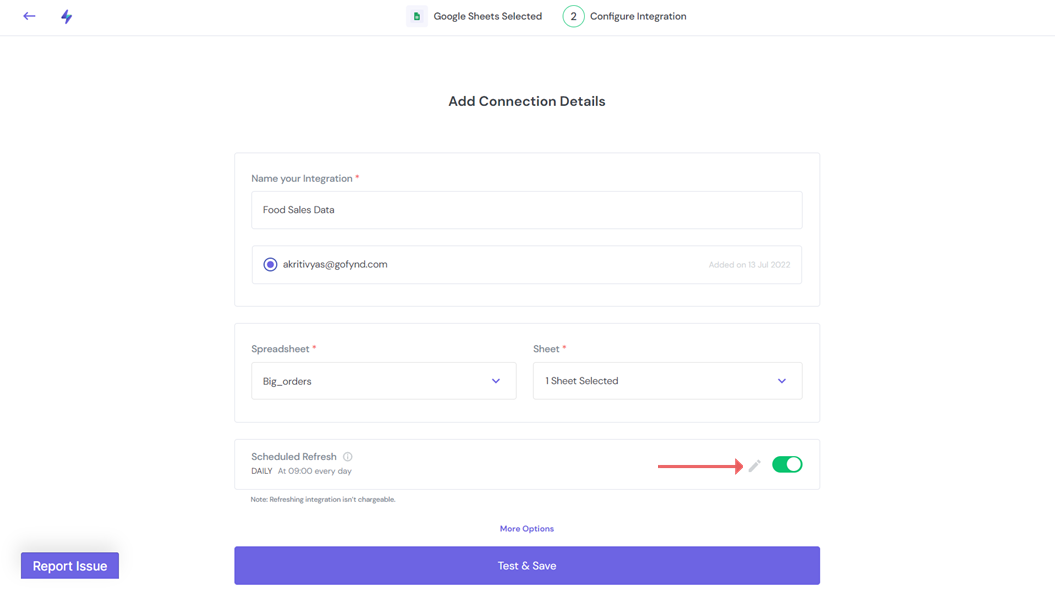
- Go to the Scheduled Refresh section, click the Pencil Edit icon and then change the settings in the appeared menu
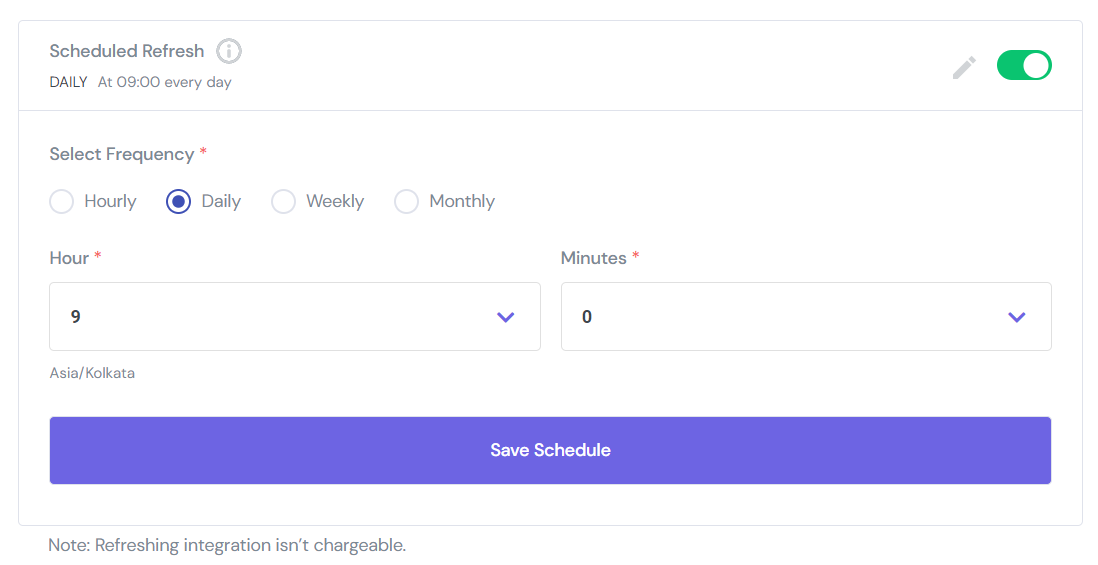
- Now set the frequency (Hourly, Daily, Weekly, and Monthly) and time slots to refresh the dataset
- Save Schedule
Step 4: Test & Save
To validate data source configuration, click on the Test Connection, and determine whether the connection is successfully established or not.
Step 5: Add Info
Its metadata, which includes a description, can be used for surfacing information to end-users and as tags for monitoring. Click on the More Options button to enter the metadata.
Congratulations
You have now successfully integrated your Google Sheets file to Boltic!
Any Question? 🤓
We are always an email away to help you resolve your queries. If you need any help, write to us at - 📧 support@boltic.io