Add Integration
Different Categories of Integration
Adding an Integration is the first step of all activities you will do in Boltic. Boltic connects to possibly all the integrations that one may come across -
Each Integration has different setup requirements: the database requires whitelisting and SSH. In contrast, cloud and data warehouses require a service account. After reading this document, readers are encouraged to read the Authentication Method doc to configure the Integration successfully.
| Category | Integrations |
|---|---|
| SQL | MS SQL |
| Oracle | |
| H2 Database Engine | |
| HSQLDB | |
| MySQL | |
| PostgreSQL | |
| Data Warehouse | BigQuery |
| NoSQL | MongoDB |
| Local Files | Excel |
| CSV | |
| JSON | |
| Cloud Apps | Google Sheets |
| REST API | |
| Communication | SMTP |
Note
If you are a first-time user, you can either view existing Integrations created in your workspace by your teammates or start by creating a new Integration.
Connecting to Integrations
There are two ways to achieve connectivity between your data sources and Boltic.
Outside the Bolt
Follow the instructions to integrate data sources outside the Bolt:
- Navigate to the resource panel, click the Integration icon to add an Integration
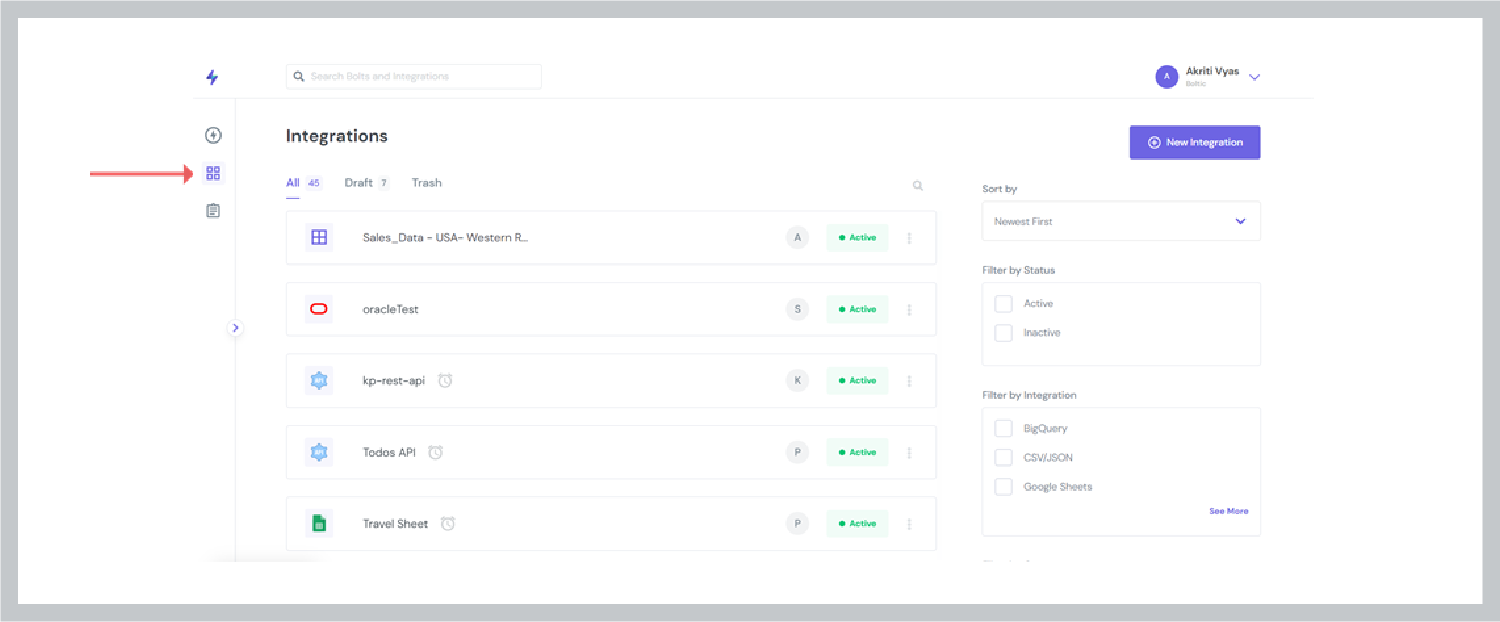
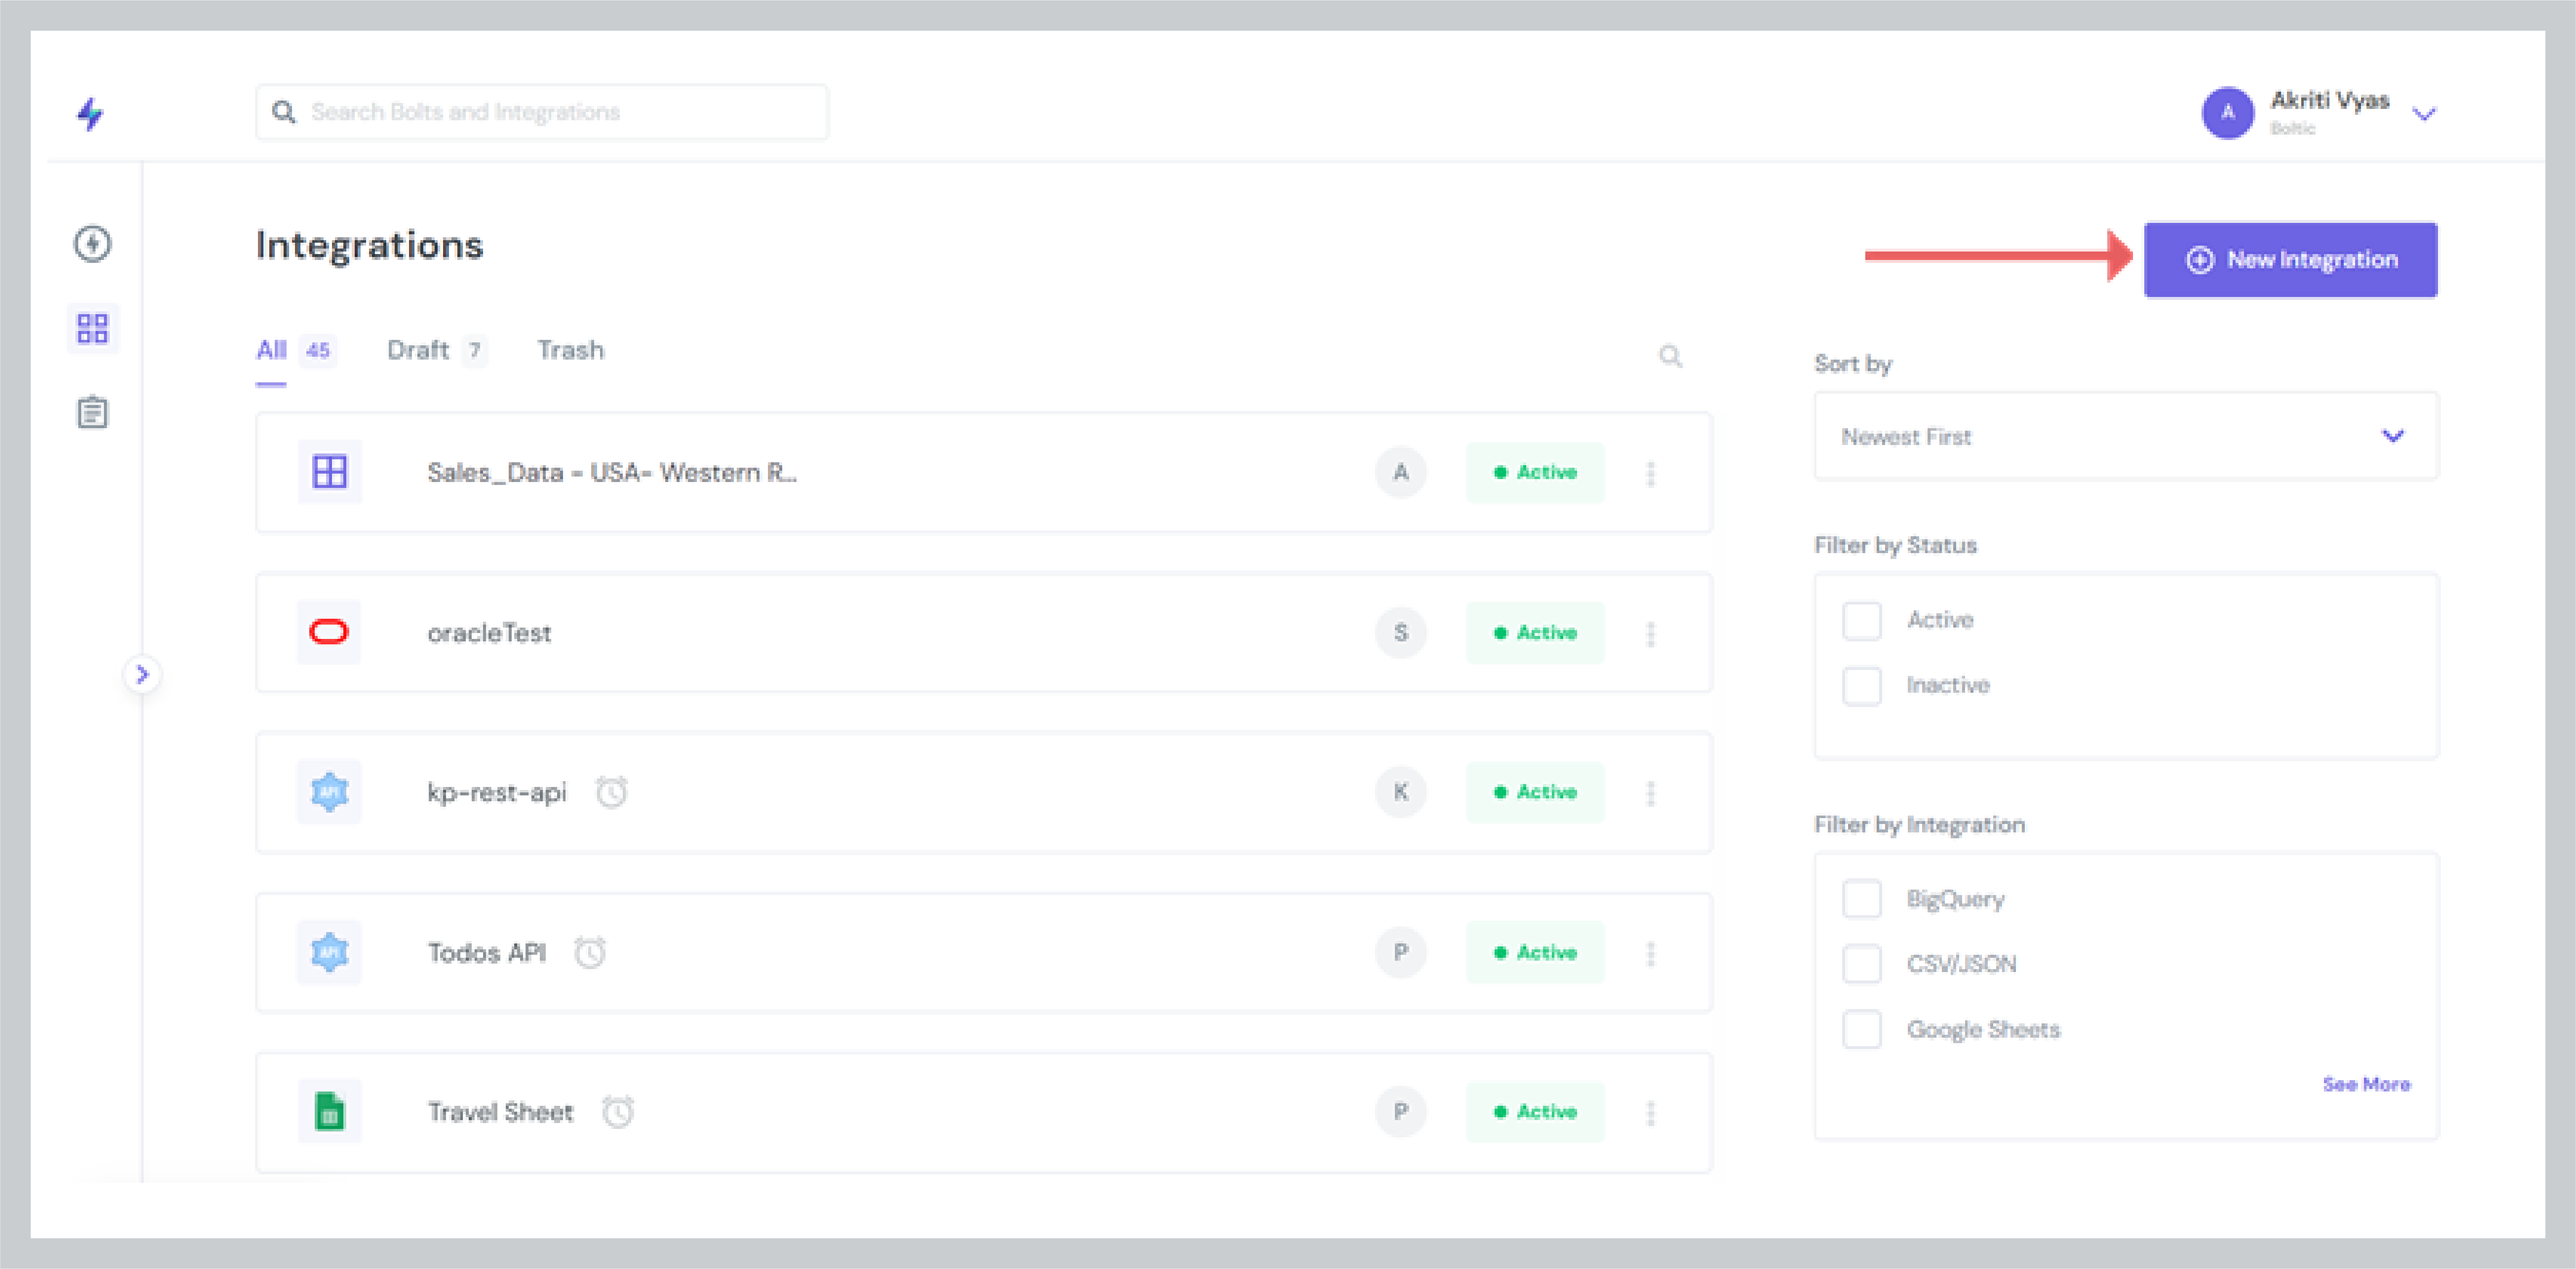
- Click the +New Integration button
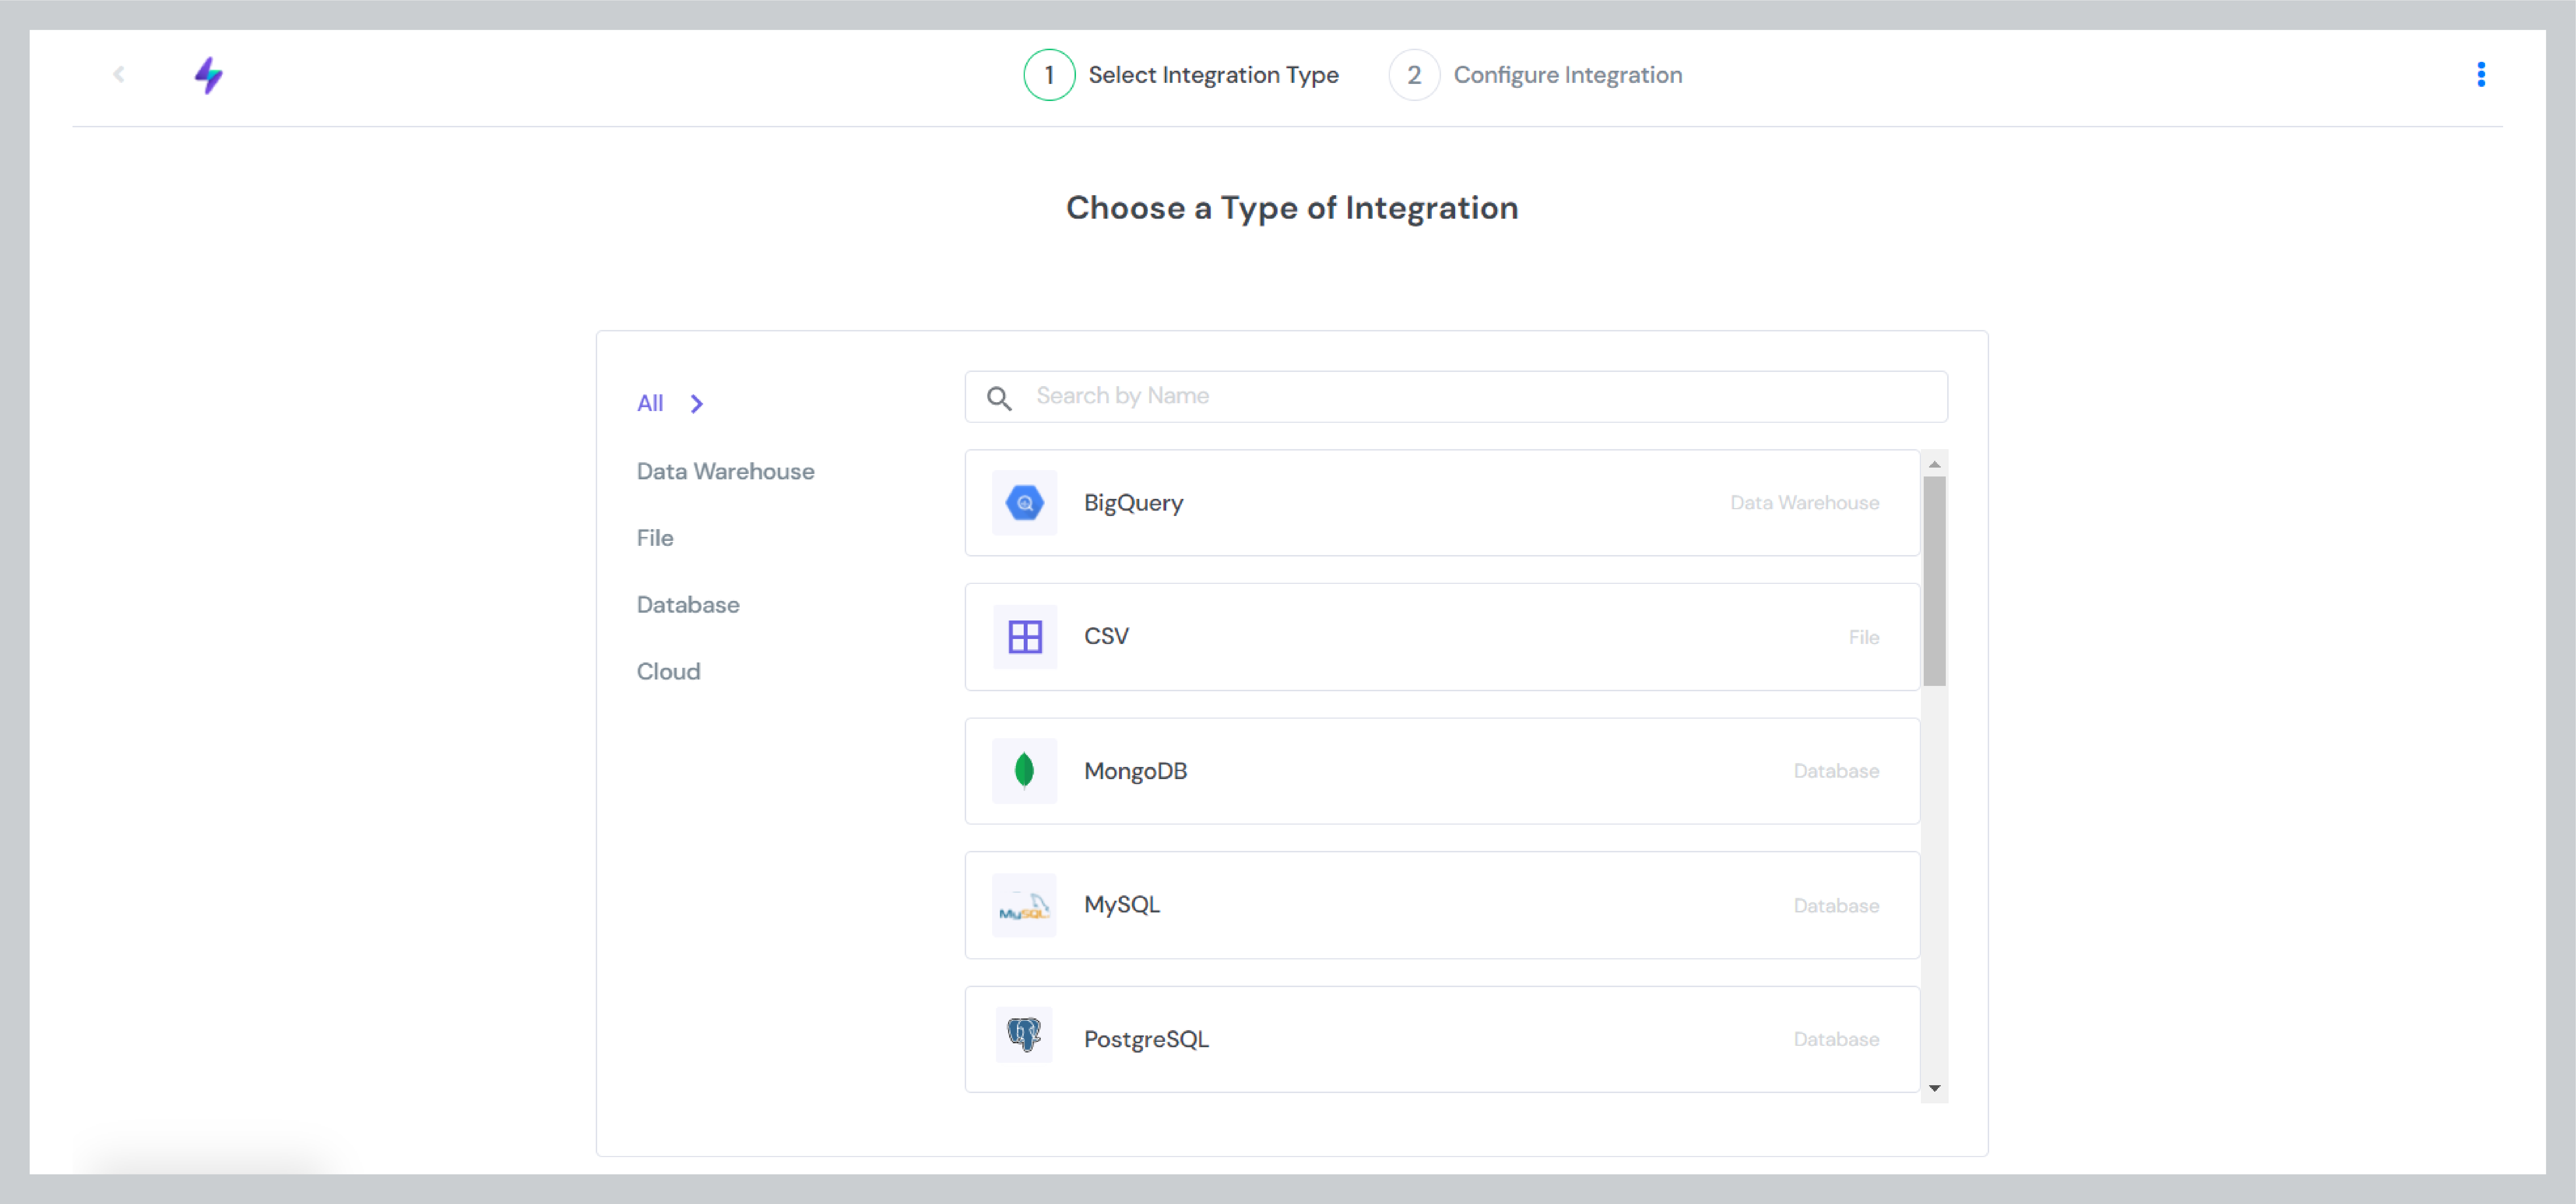
Select Integration Type
Select the Integration Type that you want to integrate from the list of the supported integrations and then follow the configuration process. Finally, read the supported Integration doc to integrate your data source successfully.
Inside the Bolt
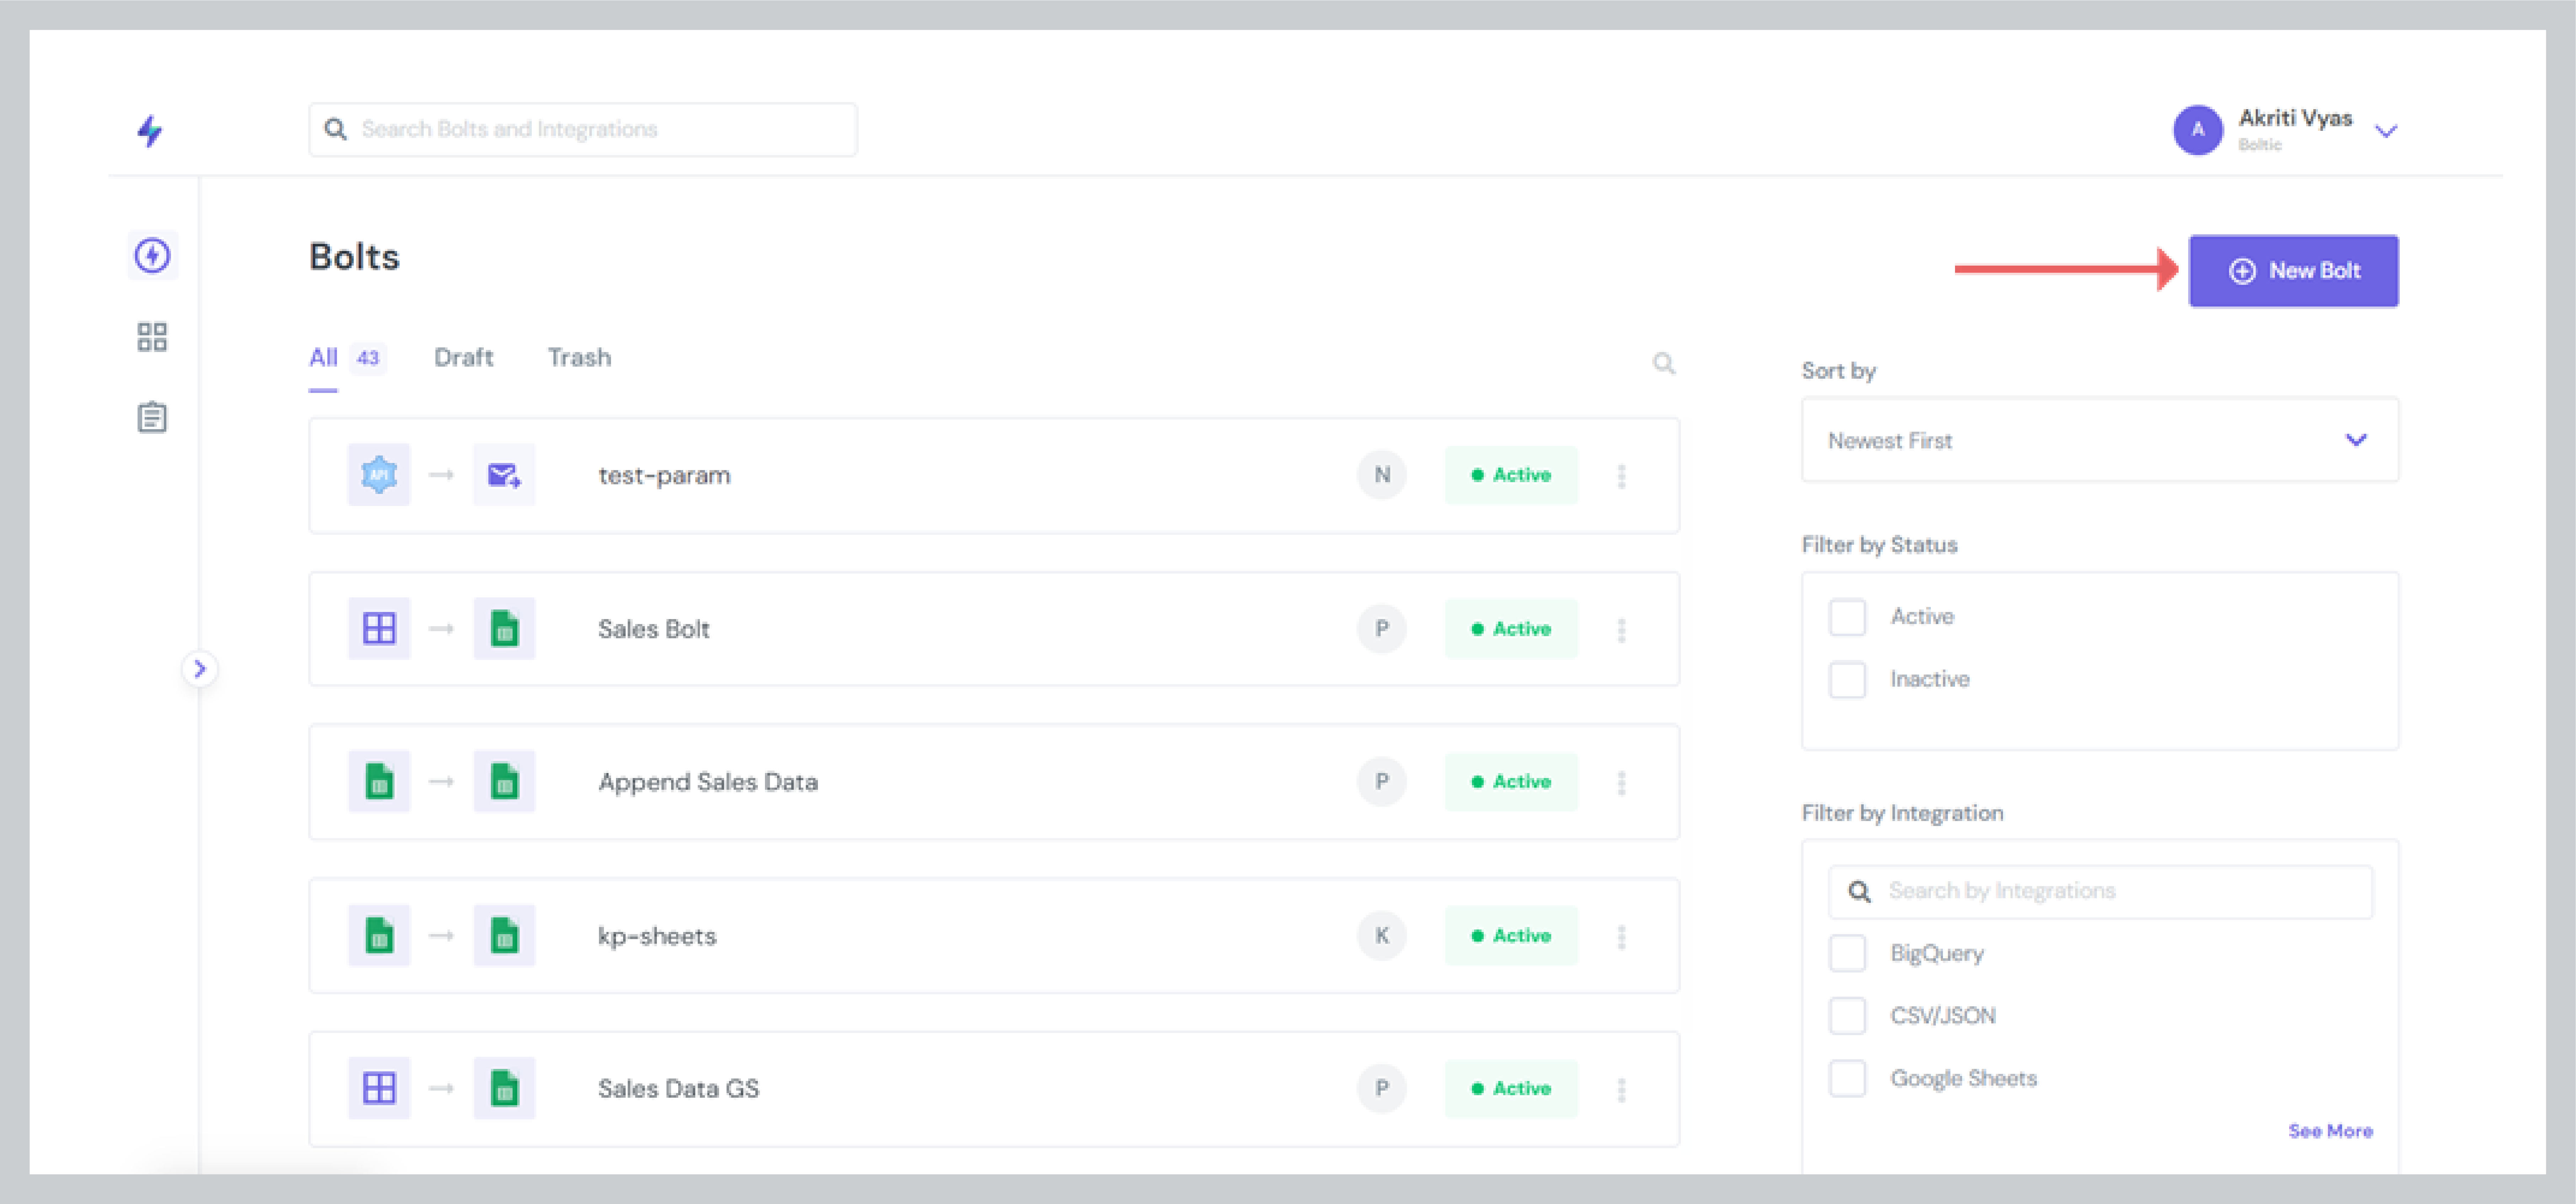
- When you sign-in to Boltic, you will first interact with the button New Bolt, click on it to add an Integration
Note
You can create a Bolt either by choosing the existing Integration you create outside the Bolt or by adding a new Integration.
- From the Bolt page, you can add the integration by clicking the +Add New Integration button and start creating a Bolt
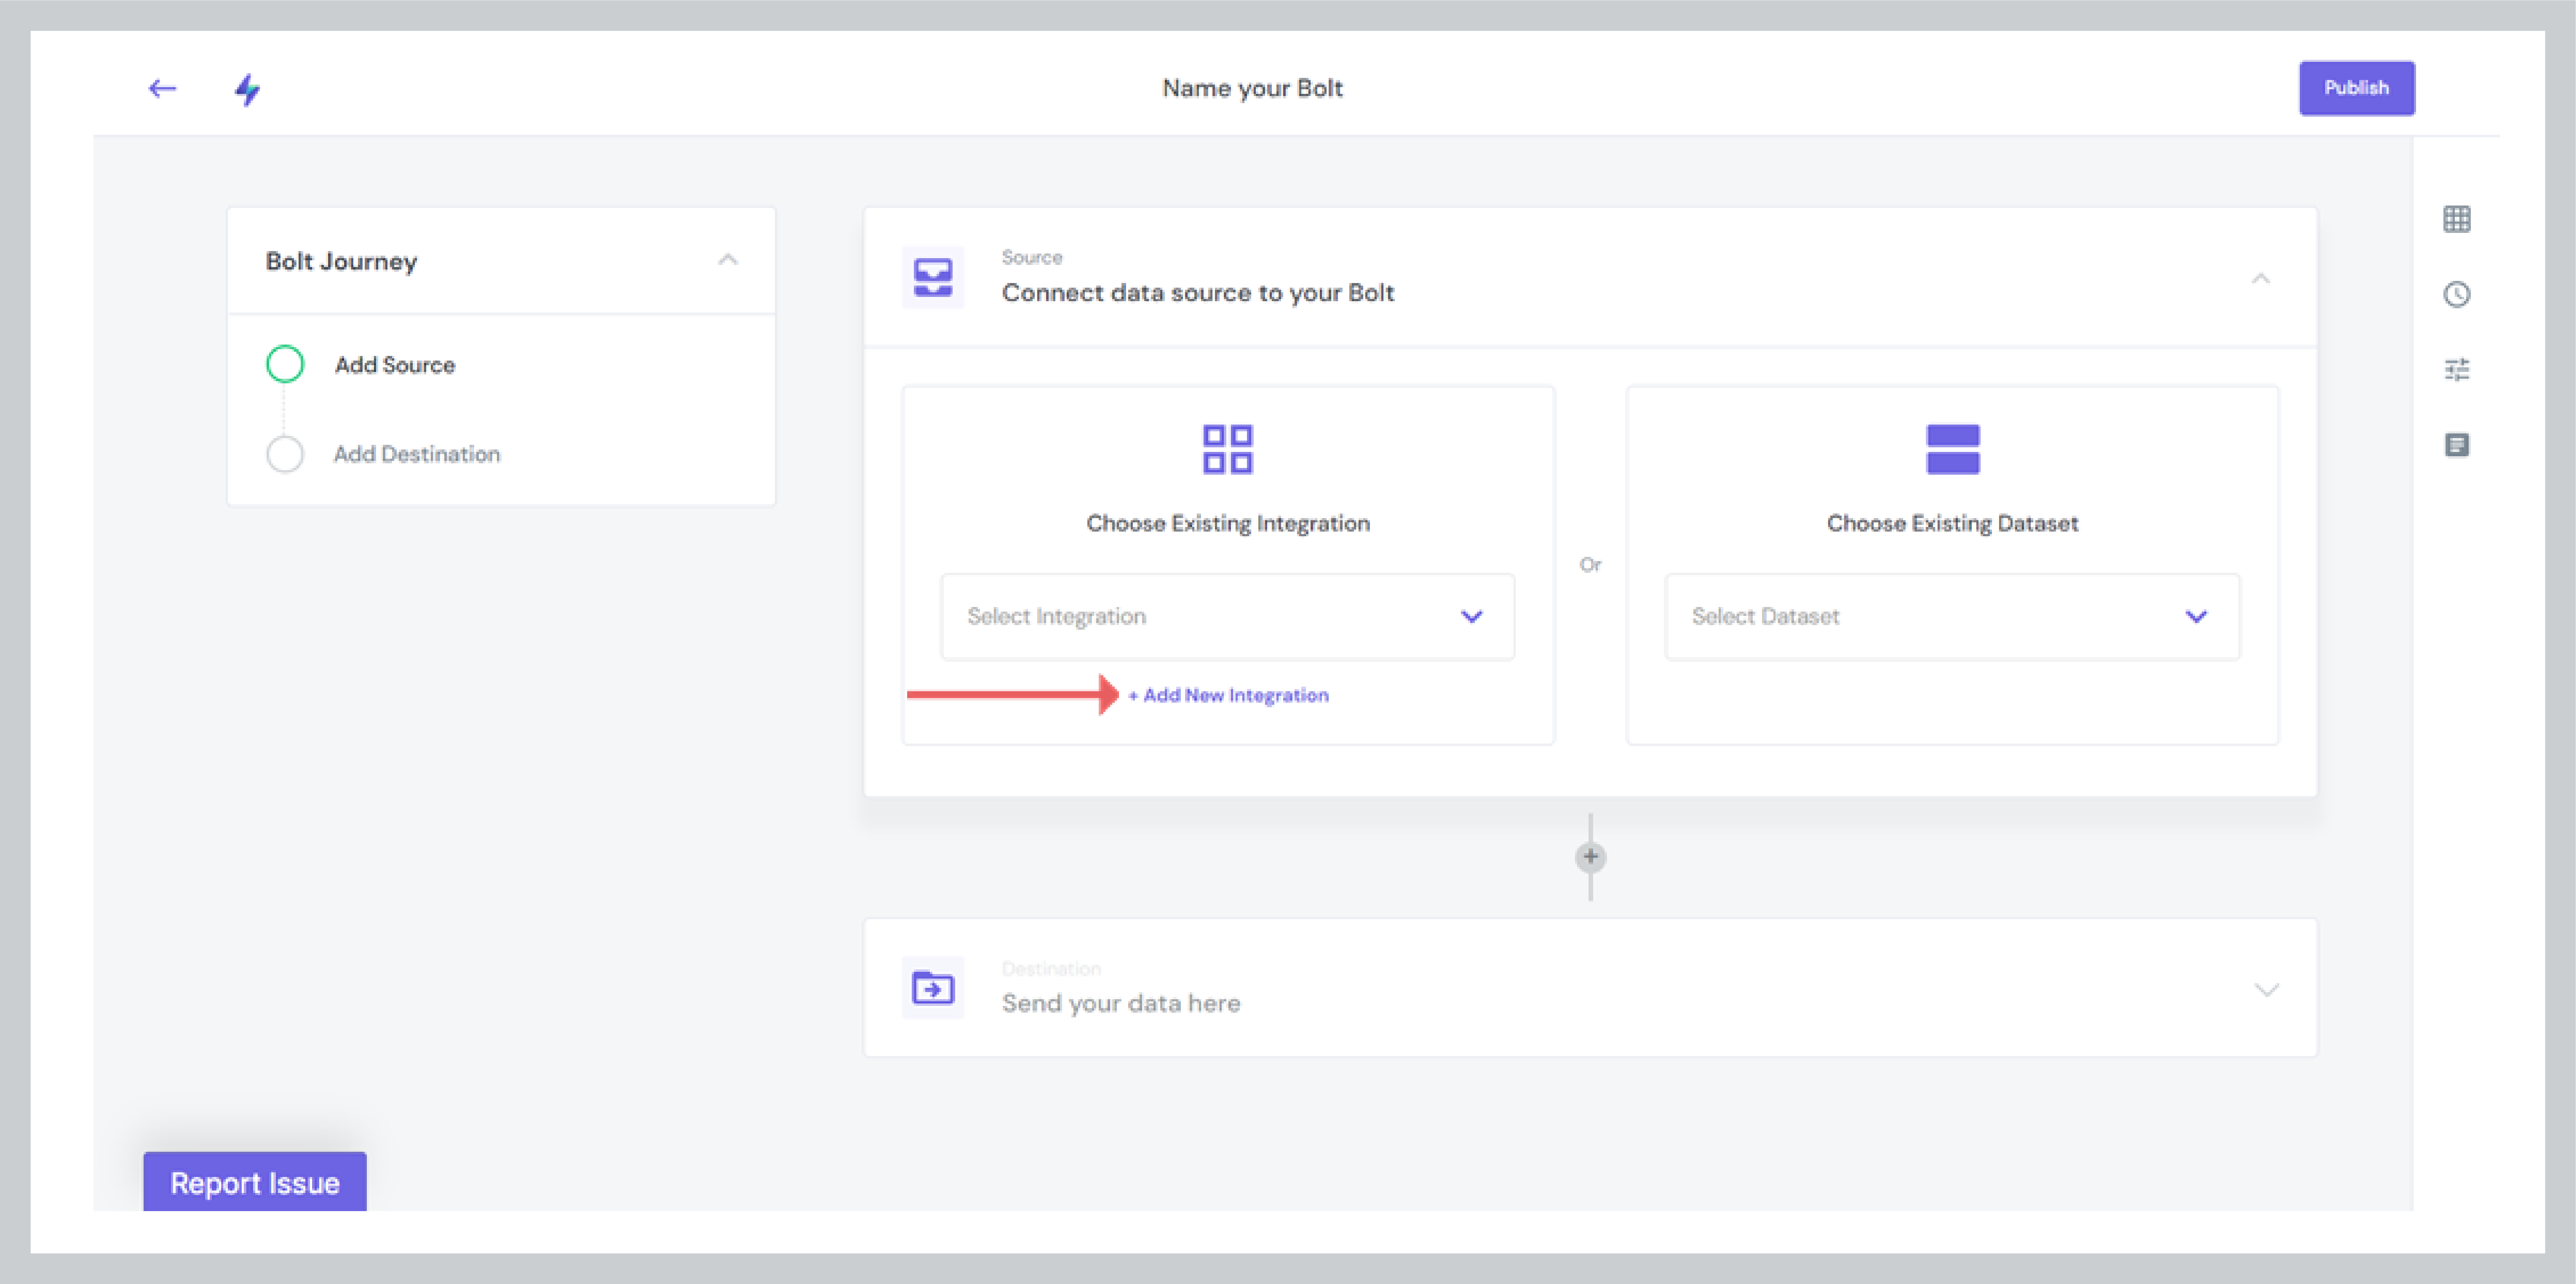
Select Integration Type
- From the list of the supported integrations, select the Integration Type that you want to integrate and then follow the configuration process.
Note
Different Integrations show different authentication methods. If you run into any error, we request to check your data source credentials or you can read our troubleshooting guide.
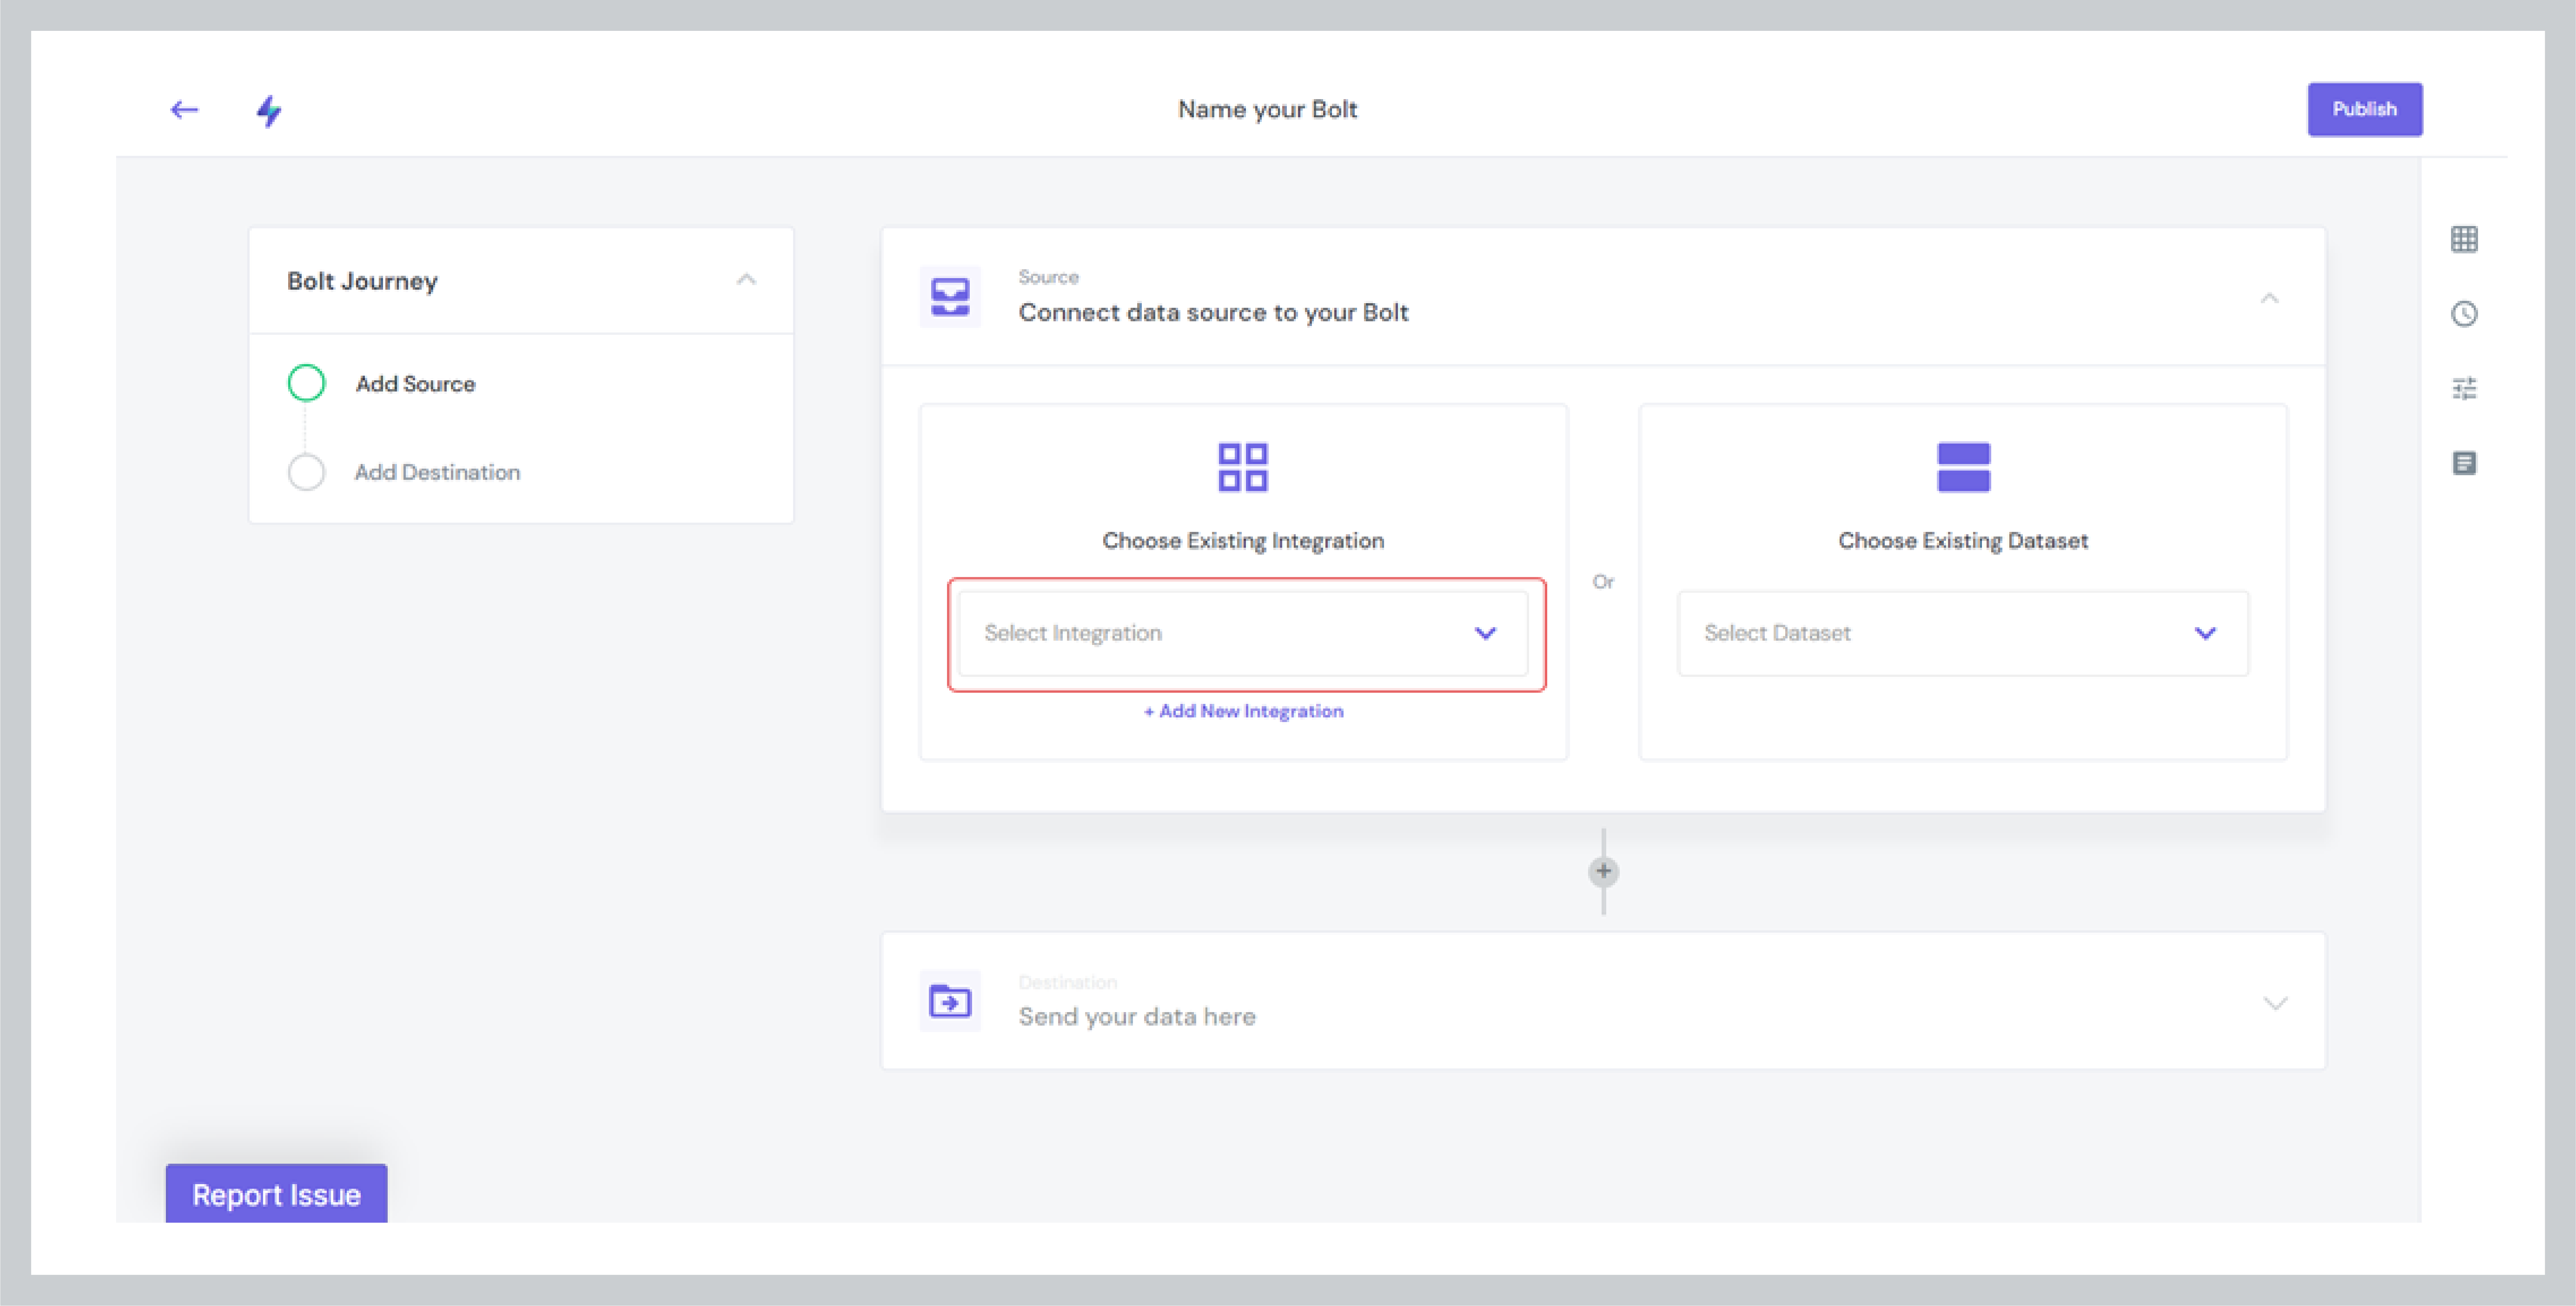
Choose Existing Integration
- If you have already added an Integration to Boltic outside the Bolt, click the Select Integration dropdown and select your Integration to create a Bolt
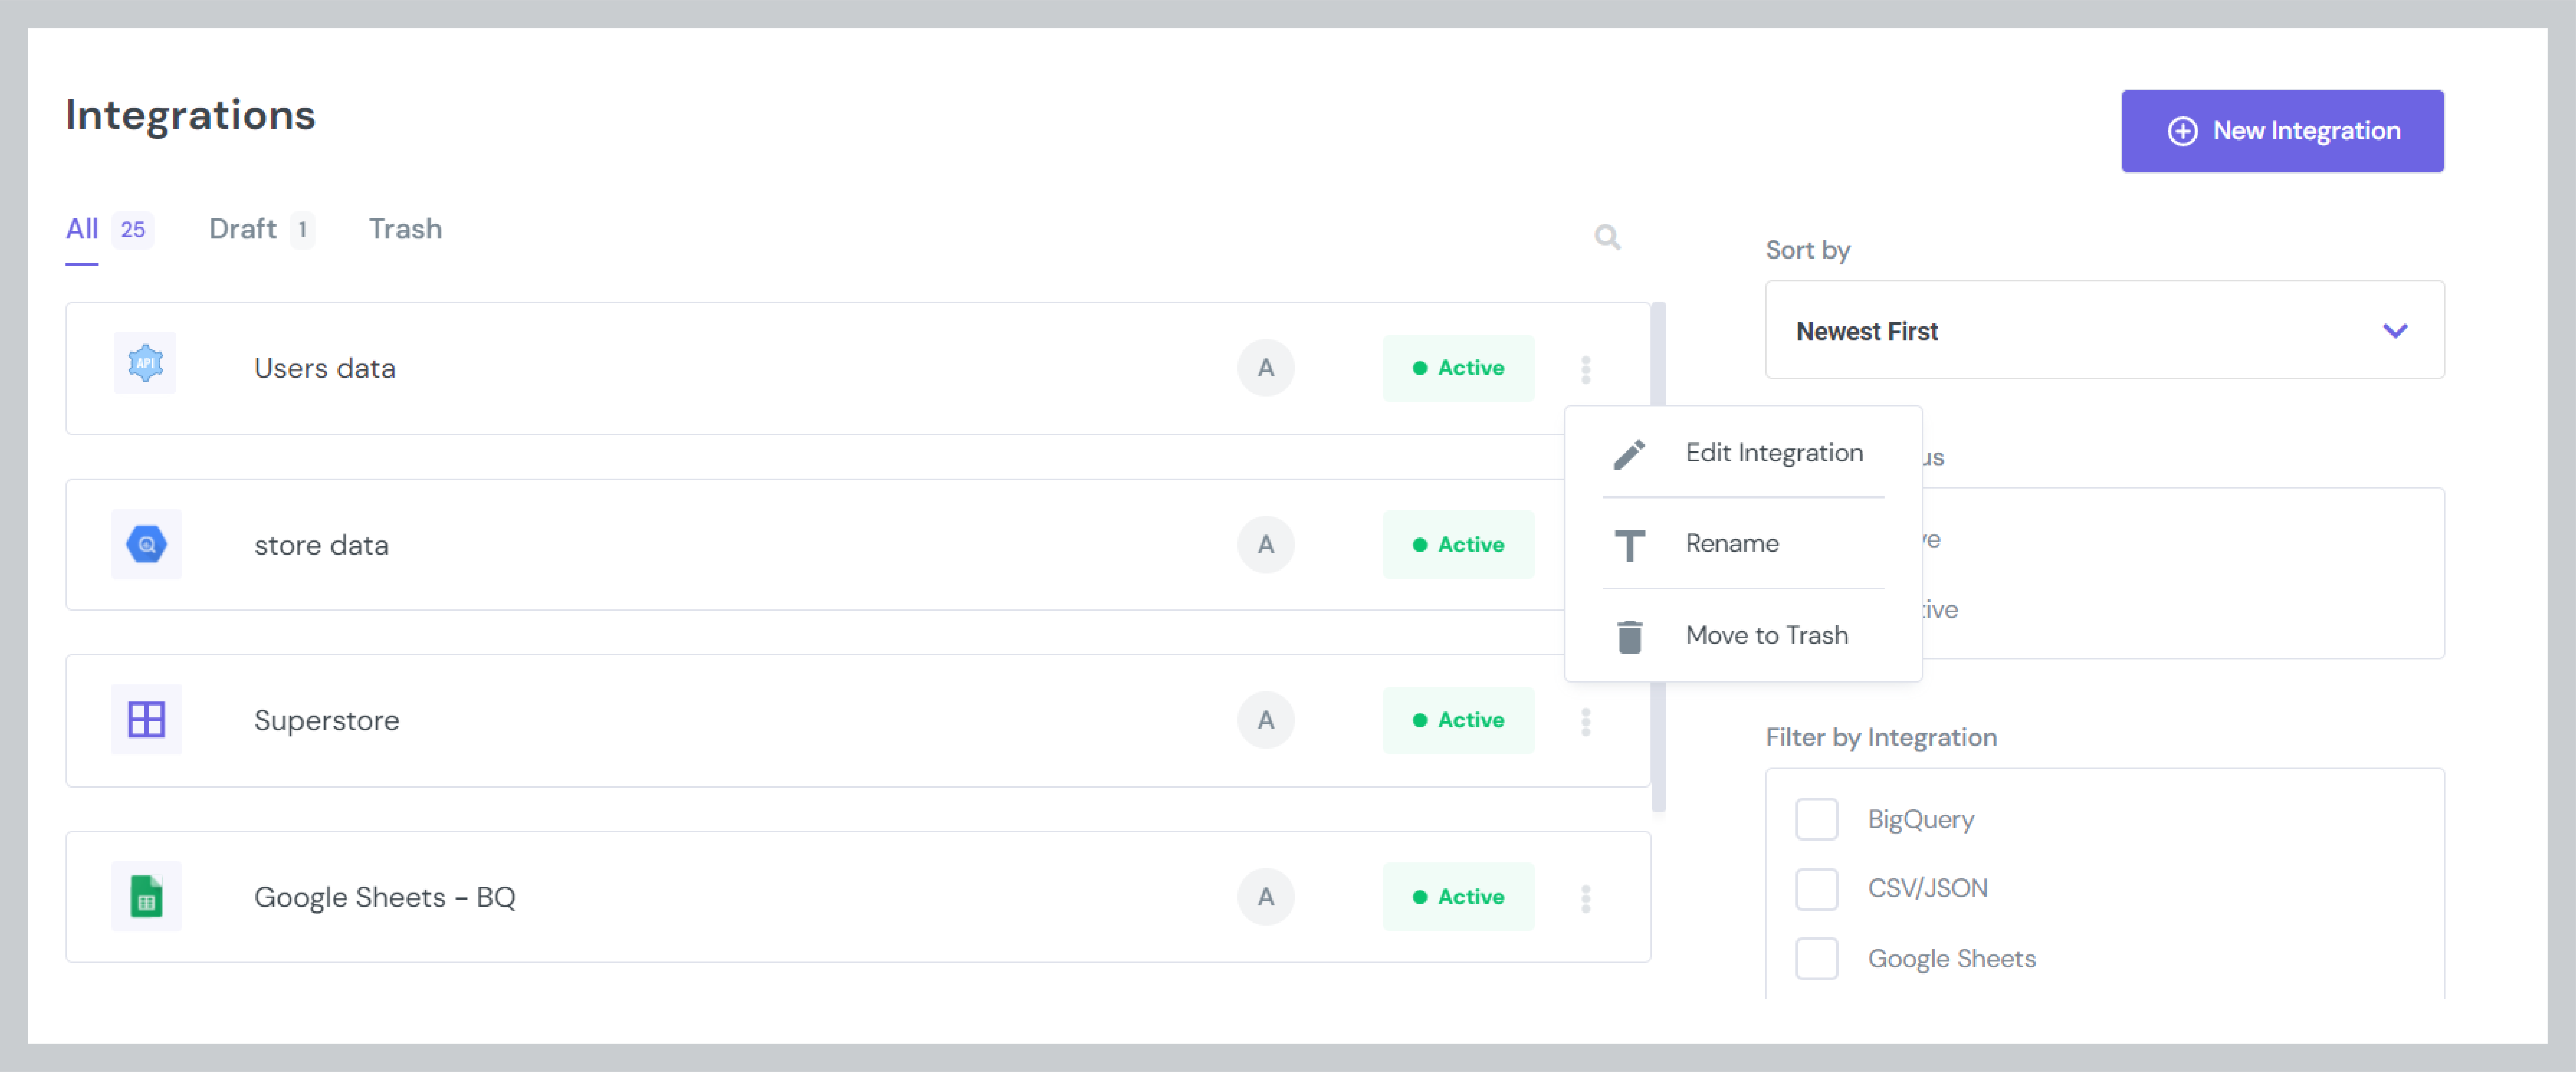
View Integrations
This page covers all of the information regarding the added integrations. After adding an Integration, you may go to this page to update, rename, or delete the integration. You may also use filters to search for your integrations.

The following are the main core components of the Bolt Listing page -
| Page Component | Description |
|---|---|
| New Integration | + New Integration button lets you add a new Integration |
| Sort by | Allows you to sort the integrations by newest, oldest, A-Z, and Z-A |
| Filter by Status | Integration is considered pending if its status is inactive |
Integration is considered finished if its status is active | | Filter by Integration | Allows you to filter the integrations by the source that initially connected to Boltic | | Filter by Creators | Allows you to filter the integrations by the creator names | | Search Box | Allows you to search the integrations by entering the name of the bolt or name of the source or tags |
On the Integration listing page, click the Vertical ellipsis to edit Integration, rename and move it to trash
Schema Generation
You can now see Schema Generation Status on the Boltic’s UI after creating an Integration. Go to the Integration History Page to view the schema generation status. If you see it fails, try to refresh it again.
Any Question? 🤓
We are always an email away to help you resolve your queries. If you need any help, write to us at - 📧 support@boltic.io